
If you create tutorials, gameplay videos, app reviews, or demo content on Android, you’ve probably wished your voice sounded cleaner and more professional. Built‑in screen recorders often capture system audio or the phone’s mic, which can pick up background noise and tapping sounds. The solution is to record your screen while using an external microphone—and then mix the tracks for crisp, broadcast‑ready audio. In this guide, you’ll learn the best methods to screen record on Android with a separate mic, how to mix your audio for clarity, and how to optimize your workflow for consistent, high‑quality results.
Why use an external microphone for Android screen recording?
- Cleaner voice capture: A lavalier, USB‑C mic, or wireless system isolates your voice from ambient noise.
- Consistent levels: External mics generally deliver better gain control and less clipping.
- Fewer handling noises: Avoids the “tap and swipe” sounds that on‑device mics often capture.
- Professional sound: Better tone, less reverb, and improved presence can dramatically elevate perceived quality.
What you need before you start
- An Android device running Android 10 or later (for native screen recording support; older versions may need third‑party apps).
- An external microphone:
- 3.5 mm TRRS lavalier mic with appropriate adapter (some phones require a USB‑C to 3.5 mm DAC).
- USB‑C microphone (plug‑and‑play on many modern Android devices).
- Wireless mic system (e.g., USB‑C receiver or TRRS receiver with adapter).
- A screen recording solution:
- Native Android screen recorder (Quick Settings tile on most devices).
- Third‑party apps like ADV Screen Recorder, AZ Screen Recorder, or XRecorder if you need more features.
- An audio recording app (if you want true dual‑track mixing later):
- Dolby On, Hi-Q MP3 Voice Recorder, or RecForge II for high‑quality voice capture.
- Optional: A desktop editor for mixing (Audacity, DaVinci Resolve, Adobe Premiere Pro, CapCut Desktop) or a mobile DAW (Audio Evolution Mobile, FL Studio Mobile).
Three practical workflows to combine screen recording with an external mic
- One‑app workflow: Screen recording app with external mic support
- Some third‑party screen recorders let you select the audio source. If your phone recognizes the external mic as the primary input, the app can record your screen and mic together.
- Pros: Simple, fast, fewer files to manage.
- Cons: Less control over noise reduction and EQ; if levels are wrong, you can’t fix them separately.
Steps:
- Connect your external mic and confirm Android recognizes it. You can test in a voice recorder app.
- Open your screen recorder and set Audio source to Microphone (not system audio) or Mixed (if available).
- Set resolution (1080p or 1440p), bitrate (8–20 Mbps for clarity), and frame rate (30–60 fps depending on content).
- Do a 10–20 second test clip to check gain and background noise.
- Record your session.
- Dual‑app workflow: Record screen and voice separately for mixing
- Use Android’s native/third‑party screen recorder for the video, while capturing high‑quality voice in a separate audio app.
- Pros: Two clean tracks; you can fix noise, EQ, and levels later.
- Cons: Requires sync in post; more files and steps.
Steps:
- Connect the external mic.
- Open your audio recorder (e.g., Dolby On) and set a high sample rate (44.1 or 48 kHz). Disable aggressive processing if you prefer manual control later.
- Open your screen recorder and set video parameters.
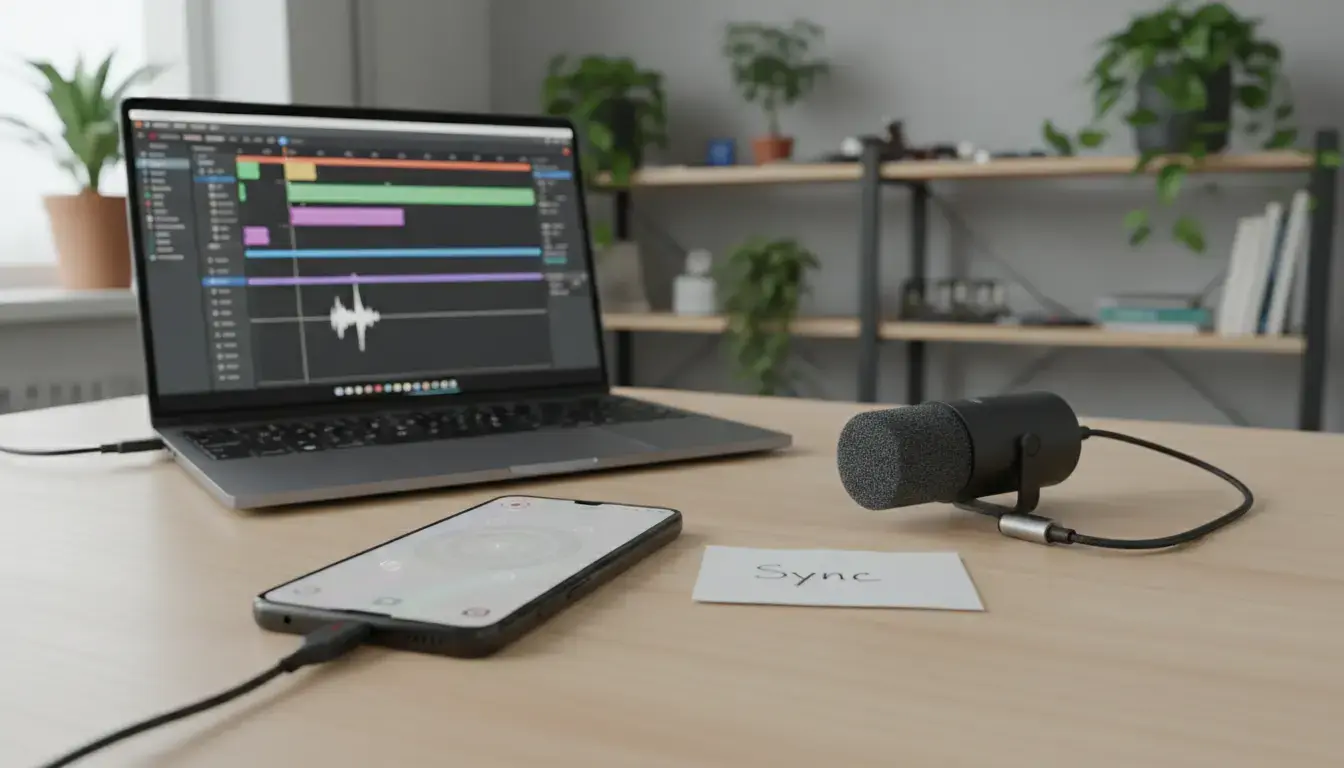
- Clap once in front of the camera mic or say “sync” clearly at the start to create a spike you can align later.
- Record both apps simultaneously.
- In post, import video and external audio into your editor. Align the waveforms using the clap spike. Mute the camera/phone mic track and keep the external mic track.
- Hybrid workflow: System audio + external mic narration
- Some content needs internal app sounds (gameplay, UI feedback). Depending on your device and app permissions, you can capture system audio and narrate via an external mic. If your screen recorder doesn’t support both, capture system audio with the recorder and narration separately, then mix later.
- Pros: Full experience: clean voice and app sounds.
- Cons: Compatibility varies by device; may require post‑mixing.
Tips:
- If your recorder supports “Internal audio + microphone,” enable it and test levels.
- If not supported, record system audio with the screen recorder while recording your narration separately, then blend tracks in post at appropriate levels (system audio around −24 to −18 LUFS integrated, voice around −16 to −14 LUFS for speech‑focused content).
How to mix your external mic audio for clarity
Whether you recorded your mic in‑app or separately, these quick mixing steps will make a big difference:
- Noise reduction: Use a gentle noise reduction pass to remove consistent hiss or hum. Avoid aggressive settings that cause artifacts.
- High‑pass filter (HPF): Cut low frequencies below 70–100 Hz to reduce rumble and plosives.
- EQ polish:
- Add 2–4 dB around 3–5 kHz to improve intelligibility.
- If your mic sounds boxy, subtract 2–3 dB around 200–300 Hz.
- If sibilance is harsh, lightly de‑ess around 6–8 kHz.
- Compression: Aim for 2:1 to 3:1 ratio with 2–6 dB of gain reduction on peaks. This evens out your voice without pumping.
- Loudness targeting: For voice‑led content on YouTube, target integrated loudness around −16 LUFS for stereo. Ensure true peak stays under −1 dBTP to avoid clipping after encoding.
- Balance with system audio: Keep app/game audio 6–12 dB lower than your voice so speech remains dominant and clear.
Mobile‑friendly tools:
- CapCut Mobile: Has basic noise reduction, EQ, and ducking.
- LumaFusion (Android beta/compatibility varies): Multitrack audio and precise mixing.
- Audio Evolution Mobile: More advanced audio features on Android.
Desktop tools:
- Audacity: Free, perfect for NR, EQ, compression.
- DaVinci Resolve: Full NLE with Fairlight audio suite for detailed mixing.
- Adobe Premiere Pro: Track‑based mixing, loudness normalization, and de‑essing.
Hardware and connection tips
- Use the right adapter: If your phone lacks a headphone jack, you’ll need a USB‑C DAC that supports mic input or a USB‑C microphone. Not all adapters pass microphone signals—buy one that explicitly supports TRRS headsets or input.
- Monitor if possible: Some USB‑C mics/wireless receivers offer headphone passthrough. Monitoring helps catch clipping or connection drops.
- Stabilize your setup: Clip lav mics about 6–8 inches from the mouth. Avoid fabric rubbing. Use a foam windscreen to reduce plosives.
- Manage gain: Set mic gain lower and speak closer rather than cranking the input to avoid noise and clipping.
- Airplane mode: Prevent notifications and RF interference while recording.
Recommended app settings for sharp visuals
- Resolution: 1080p is sufficient for most content; 1440p or 2160p raises clarity but increases file size and heat.
- Frame rate: 60 fps for gaming or fast UI demos; 30 fps for tutorials and presentations.
- Bitrate: 8–12 Mbps for 1080p60; 16–24+ Mbps for 1440p/4K. Higher bitrates reduce compression artifacts.
- Orientation lock: Prevent accidental rotation mid‑record.
- Touch indicators: Enable visual touches for tutorials to improve viewer comprehension.
Syncing separate audio and video quickly
- Visual + audio cue: Clap once at the start so both tracks show a distinct spike.
- Auto‑sync: Many editors (Premiere Pro, Resolve) can auto‑sync by waveform. On mobile, align manually by matching the clap peak.
- Slate method: Say “Take 1” and the time. This helps keep files organized and speeds up edits.
Publishing and SEO tips for discoverability
- Title: Include “Android Screen Recording with External Microphone” near the front. Add a secondary benefit like “Crisp Voiceover” or “Pro Audio.”
- Description: Summarize your method (screen recorder + external mic + mixing) and mention your mic model and app names to capture long‑tail queries.
- Chapters: Add timestamps for Setup, Record, Mix, Export.
- Thumbnail text: “Screen Record + External Mic = Pro Sound.”
- Tags/keywords: Use variations like “Android external mic screen capture,” “Android screen recorder mic input,” and related LSI terms below.
- Transcript: Upload a clean transcript/captions for accessibility and SEO.
Common pitfalls to avoid
- Wrong adapter: If your phone doesn’t detect the mic, your adapter likely doesn’t support mic input. Swap adapters or use a USB‑C mic.
- Clipping: If your voice distorts on loud words, lower mic gain and increase distance slightly.
- Hollow sound: Move the mic closer; treat the room (soft furnishings, curtains) to reduce echo.
- Out‑of‑sync audio: Always add a sync clap and avoid pausing one recorder while the other is running.
Quick checklist before you hit record
- External mic connected and recognized by Android.
- Screen recorder audio source set correctly (mic/internal/mixed).
- Resolution, frame rate, and bitrate configured.
- Room noise minimized; airplane mode on.
- 10‑second test recording reviewed on headphones.
- Sync clap performed at the start.
With the right mic, a reliable recording workflow, and a simple mixing pass, your Android screen recordings can sound as clear as your visuals look. Viewers notice audio quality first—get it right, and your tutorials, demos, and gameplay videos will feel instantly more professional.