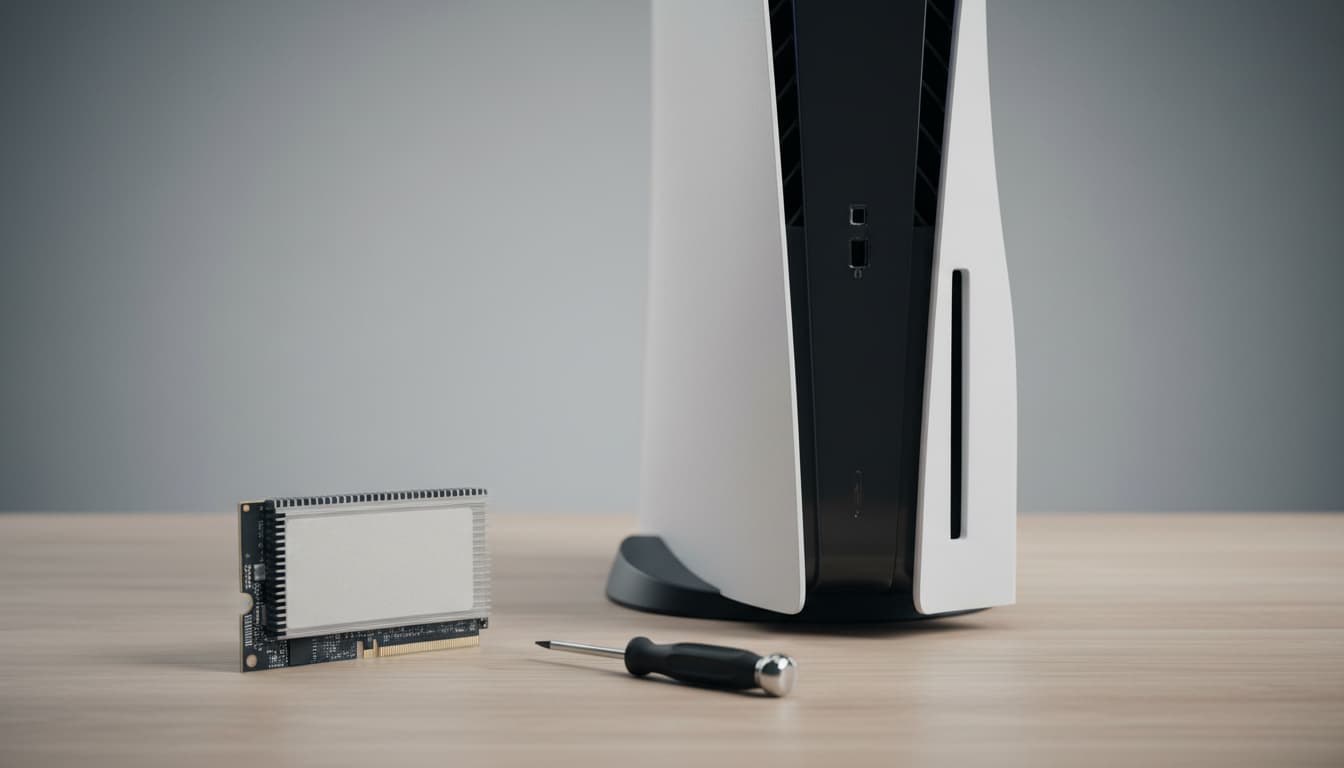

Upgrading your console’s storage with an NVMe SSD or SATA SSD can dramatically improve load times, reduce stuttering, and give you the flexibility to install more games without constantly uninstalling old ones. Whether you’re on PlayStation 5, Xbox Series X|S, or an older generation like PS4 and Xbox One, choosing the right SSD, installing it properly, and optimizing your setup can make a real difference in performance and longevity. This guide walks you through compatibility, key specifications, installation, data migration, and best practices—so you upgrade once and upgrade right.
NVMe vs. SATA: What’s the difference?
- NVMe (PCIe) SSDs use the PCI Express interface, delivering significantly higher bandwidth and lower latency than older SATA drives. For modern consoles like the PS5, NVMe is essential for meeting the console’s strict speed requirements.
- SATA SSDs are still a major upgrade over hard drives (HDDs) in older consoles (PS4, Xbox One), offering faster load times and quieter operation, but they’re slower than NVMe.
In short: If your console supports NVMe (PS5, Xbox Series storage cards), go NVMe. If your console supports only SATA (PS4, some older models), a 2.5″ SATA SSD is the way to go.
Console-specific compatibility at a glance
- PlayStation 5: Supports M.2 NVMe PCIe Gen4 x4 SSDs with a heatsink. Sony recommends 5,500 MB/s or faster sequential read. Physical size limits apply—check length (typically 2280) and heatsink height.
- Xbox Series X|S: Uses proprietary expansion cards for internal-speed storage. You can also use external USB SSDs for legacy titles and cold storage, but current-gen titles need internal or expansion storage to run at full speed.
- PlayStation 4/PS4 Pro: Accepts 2.5″ SATA SSDs internally. You can also use external USB 3.0 SSDs for easy plug-and-play.
- Xbox One/One X: Supports external USB 3.0 SSDs; internal replacement is not typically user-serviceable, but external SSDs yield substantial improvements.
Always consult your console’s official support page for the latest size, speed, and physical fit guidelines.
Key specs that actually matter
- Interface and generation: For PS5, insist on PCIe Gen4 x4 NVMe drives; older or slower generations will bottleneck or be incompatible.
- Sequential read speed: Aim for 5,500 MB/s+ on PS5. For SATA SSDs, ~500–550 MB/s is standard, still a big leap from HDDs.
- Capacity: 1TB is a sweet spot; 2TB if you have a large library or many live-service games.
- Endurance (TBW) and warranty: Higher TBW and longer warranties indicate better durability.
- Controller and NAND: Reputable controllers (e.g., Phison E18 class for Gen4) and TLC NAND generally deliver consistent performance under sustained loads compared to QLC. If you choose a QLC drive, ensure a robust SLC cache and good thermal solution.
- Heatsink: Mandatory for PS5 M.2 drives; pick a model with an integrated heatsink or add a compatible one to avoid thermal throttling.
Internal vs. external: Which should you choose?
- Internal NVMe (PS5) or expansion card (Xbox Series): Delivers native performance for current-gen games.
- External SSD (USB 3.x): Great for PS4/Xbox One and for storing PS5/Series titles you’re not actively playing. You can move games back internally when needed.
- Hybrid strategy: Keep your most-played, asset-heavy games internally; use external SSDs for backlog and cold storage to manage space efficiently.
Step-by-step: Installing an M.2 NVMe in PS5
- Back up saves and captures to cloud or USB.
- Power off completely, unplug, and discharge static (touch a grounded metal object).
- Remove console cover per official instructions.
- Open the M.2 slot cover, insert the SSD at an angle, press down, and secure with the screw/stand-off matching your drive’s length (e.g., 2280).
- Ensure the heatsink is properly attached and does not exceed size constraints.
- Replace covers, reconnect, boot, and let the PS5 format the drive when prompted. Run the speed test and confirm detection.
Tip: If your drive didn’t ship with a heatsink, choose a low-profile model designed for PS5 compatibility.
Installing a 2.5″ SATA SSD in PS4/PS4 Pro
- Back up saves to PS Plus cloud or USB.
- Power off, unplug, remove the bay cover, and unscrew the drive caddy.
- Swap the HDD for the SSD in the caddy, secure it, and reinstall.
- Reinstall system software if required, restore data, and re-download games as needed.
This swap can slash load times, speed up menus, and reduce hitching in many titles.
Data migration and library management
- Cloud saves: PS Plus and Xbox Live cloud storage make transitions painless—verify sync before swapping hardware.
- USB transfer: Use external USB SSDs/HDDs to move installed games where supported. On PS5, you can move PS5 games to USB for storage (not play), and PS4 games can run from USB.
- Reinstall selectively: Take the opportunity to reinstall only the games you actually play to keep the new drive lean.
Performance expectations
- Load times: Expect seconds rather than tens of seconds for many scenes, with NVMe offering the best results on PS5/Series.
- Texture streaming: Faster storage reduces pop-in and stutter in open-world games that stream assets on the fly.
- Patches and installs: Copying and patching is noticeably faster, especially when moving files between internal NVMe and external SSDs.
Note: Real-world benefits vary by title; games optimized for next-gen I/O show the biggest wins.
Thermal and power considerations
- Ensure proper airflow. For PS5 NVMe, always use a heatsink. Avoid bulky third-party heatsinks that exceed Sony’s height limits.
- Keep your console dust-free and well-ventilated to maintain sustained speeds and reduce fan noise.
- Avoid chronic near-full capacity; SSDs maintain performance better with 10–20% free space.
Longevity and maintenance
- Firmware updates: Update SSD firmware if the vendor provides a console-compatible method. If not, update via PC before installation.
- Health monitoring: While consoles don’t expose SMART extensively, periodic housekeeping (free space, clean install) helps longevity.
- Write-heavy workloads: Game installs/patches are bursts, not continuous heavy writes—quality TLC drives with decent TBW are more than sufficient for console lifecycles.
Recommended buying checklist
- Confirm interface and generation (PS5: PCIe Gen4 x4).
- Verify physical size (M.2 2280) and a low-profile heatsink.
- Read speed ≥ 5,500 MB/s for PS5; good controller + TLC preferred.
- Capacity: 1–2 TB based on your library.
- Solid warranty (5 years typical) and reputable brand support.
Common mistakes to avoid
- Buying a Gen3 or DRAM-less model for PS5—it may bottleneck or fail compatibility checks.
- Skipping the heatsink on PS5—expect thermal throttling.
- Overfilling the drive—performance can degrade when nearly full.
- Assuming external SSDs deliver full next-gen performance for Series/PS5 titles—they’re ideal for storage and last-gen play.
Final optimization tips
- Organize by frequency: Keep your top 5–10 active games internal.
- Leverage quick resume (Xbox) and activity cards (PS5) for faster session hopping.
- Periodically archive completed games to an external SSD to keep internal NVMe lean and fast.
By understanding compatibility, picking the right specs, and installing carefully, a console storage upgrade is one of the most impactful and cost-effective performance boosts you can make.