
Entry-Level Home Studio Lighting: A Complete Beginner’s Guide
Setting up entry-level home studio lighting doesn’t have to be complicated or expensive. With a clear plan, a small budget, and a few smart choices, you can capture clean, professional-looking photos and videos right from your living room or spare bedroom. This guide breaks down the essentials—gear, setups, placement, and practical tips—so you can build a reliable lighting kit and achieve consistent, flattering results.
Why Lighting Matters More Than Your Camera
Great lighting shapes the look and feel of your content more than any other factor. Proper light controls exposure, contrast, color, and mood. Even a modest camera can produce sharp, cinematic results when illuminated well. Conversely, the best camera will struggle to create quality images in poor light. Start with lighting; your footage and photos will immediately look more polished.
The Core Lighting Concepts (Made Simple)
- Intensity: How bright your light is. Adjust exposure using dimmers, bulb wattage, distance, or diffusion.
- Quality: Soft vs. hard light. Soft light (from diffusers or large softboxes) minimizes harsh shadows and is flattering for faces.
- Direction: The angle light hits your subject. Side angles add depth; front light is flatter but clean.
- Color Temperature: The “warmth” or “coolness” of your light measured in Kelvin (K). Keep all lights consistent to avoid color casts.
- CRI/TLCI: A measurement of how accurately a light renders colors. Aim for CRI 95+ to ensure natural skin tones.
Entry-Level Gear That Delivers
You don’t need a massive budget to start. Focus on these essentials:
- LED Panel Lights: Affordable, dimmable, and often bi-color (e.g., 2700–6500K). Great for compact spaces and low heat.
- Softboxes or Umbrellas: Transform harsh light into soft, flattering illumination. Even small softboxes make a big difference.
- Light Stands: Sturdy stands keep lights safe and at the right height. Look for air-cushioned stands if possible.
- Diffusion Materials: Pop-up diffusers, translucent umbrellas, or affordable diffusion cloth.
- Practical Lights: Lamps or LED bulbs in the background add depth and make your scene feel “lived in.”
- Reflectors: A 5-in-1 reflector (white, silver, gold, black, translucent) is a low-cost tool to bounce or shape light.
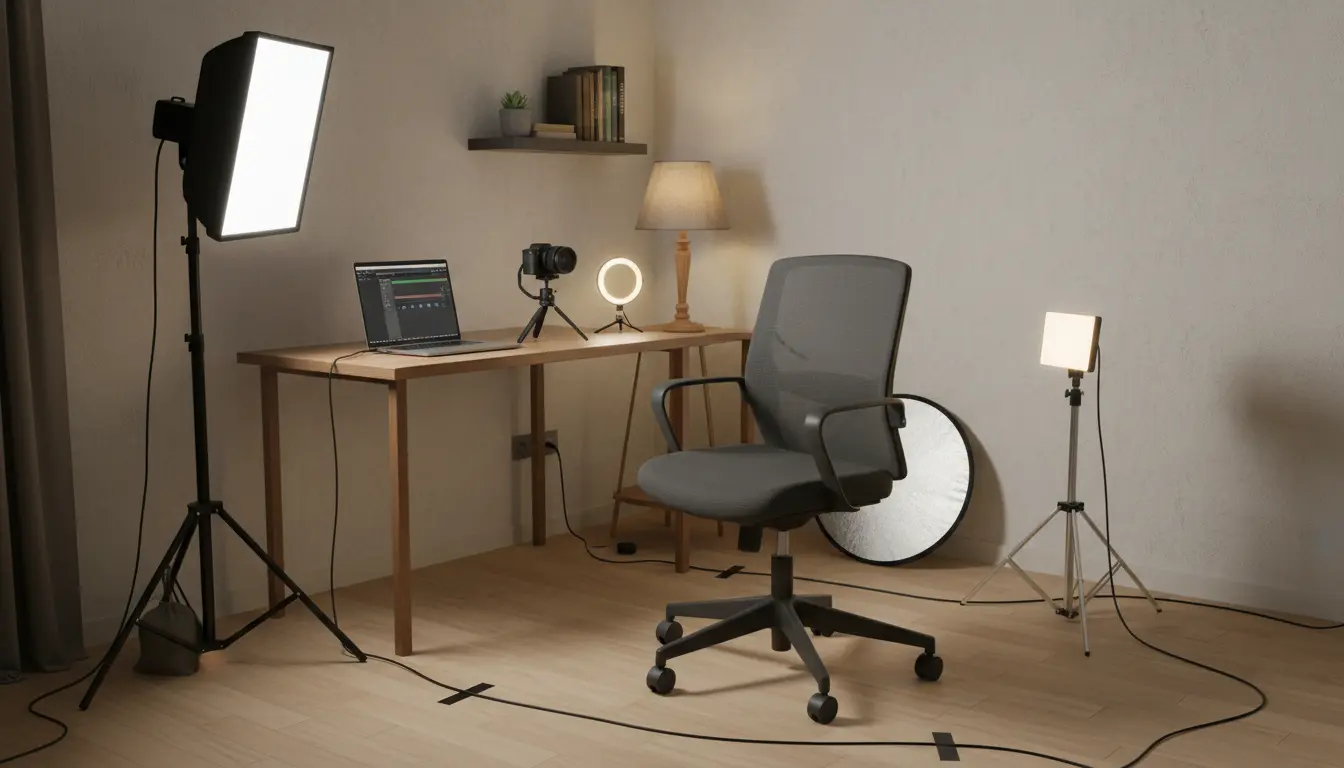
Budget tip: Start with a two-light kit—one key light with a softbox and one LED panel as fill or rim. Add a reflector for fine control.
Simple Lighting Setups for Small Spaces
- Single Soft Key (Minimalist Setup)
- Place a softbox 45 degrees to one side of the subject, slightly above eye level and angled down.
- Use a reflector on the opposite side to gently fill shadows.
- Ideal for talking-head videos, online courses, and interviews.
- Two-Light Interview
- Key Light: Softbox at 45 degrees.
- Fill Light: LED panel set weaker than the key (about 1/2 to 1/4 intensity) on the opposite side.
- Background: Add a practical lamp or LED strip for separation and visual interest.
- Three-Point Lighting (Classic)
- Key: Your main, soft brightest source.
- Fill: Softer, dimmer light to control contrast.
- Back/Rim: Positioned behind and above to outline hair/shoulders, separating the subject from the background.
- This layout delivers a polished, professional look in most scenarios.
- Window Light Hybrid
- Use a north-facing window as a giant free softbox.
- Add a reflector to control shadows and a small LED as a back/rim light.
- Balance your camera white balance to the window light (~5600K).
How to Avoid Color Casts and Mixed Lighting
Mixed lighting (tungsten lamp at ~3200K plus daylight at ~5600K) can create skin tones that look odd or patchy. To keep colors clean:
- Match all lights to a single color temperature setting (e.g., set everything to 5600K).
- Turn off conflicting overhead lights that are a different color.
- Set your camera’s white balance manually (don’t rely solely on auto).
- Aim for lights with CRI/TLCI 95+ for accurate color reproduction.
Getting Soft, Flattering Light on a Budget
- Bigger Modifier = Softer Light: A larger softbox or umbrella relative to your subject creates smoother shadows.
- Bring the Light Closer: The closer the source, the softer the light appears (inverse-square law).
- Diffuse Twice if Needed: Use a softbox plus an additional diffusion layer or bounce off a white wall.
- Use Reflectors: White is subtle and clean; silver is punchier; gold adds warmth (use sparingly for natural skin tones).
Backgrounds and Depth
Flat backgrounds feel lifeless. Add depth by:
- Pulling your subject 1–2 meters away from the background to create blur and separation.
- Lighting the background slightly darker than the subject for a dimensional look.
- Using a small, focused light (or practical lamp) to create a gentle gradient or highlight.
Controlling Shadows and Spill
- Feather the Light: Aim the brightest part of the softbox just off the subject for a smoother falloff.
- Use Flags: Black foam board or barn doors keep light from spilling onto the background.
- Negative Fill: A black panel on one side deepens shadows and sculpts the face for a cinematic feel.
Camera Settings That Complement Lighting
- ISO: Keep it as low as possible to reduce noise (e.g., ISO 100–400).
- Aperture: Wider apertures (f/1.8–f/2.8) yield softer backgrounds; stop down slightly for sharper interviews (f/2.8–f/4).
- Shutter (Video): Follow the 180-degree rule (e.g., 1/50 for 24–25 fps, 1/60 for 30 fps).
- Picture Profile: Choose a neutral profile if you don’t plan to color grade; log profiles need careful lighting and post-processing.
Practical Troubleshooting
- Face Looks Shiny: Use a matte powder, lower intensity slightly, add diffusion, or raise the light to avoid direct glare.
- Harsh Shadows: Increase light size, bring it closer, or add fill/reflector.
- Colors Look Off: Align all lights to the same Kelvin; set manual white balance.
- Background Too Bright: Dim or flag the background light and increase subject-key ratio.
Recommended Entry-Level Purchases (Prioritize in Order)
- Bi-color LED panel (CRI 95+, dimmable)
- Softbox or shoot-through umbrella
- Light stand and reflector (5-in-1)
- Small back/rim light or clip-on LED
- Background practical lamp or LED strip for accent
Workflow for Consistency
- Pre-light your space and mark stand positions on the floor with tape.
- Note down your favorite camera settings and light intensities.
- Keep a color chart or gray card handy for quick white balance and post-production consistency.
Safety and Space Tips
- Secure cables with gaffer tape.
- Use sandbags on stands in tight spaces.
- Keep LED panels cool by allowing airflow—great for small rooms and long shoots.
By mastering a few fundamentals and making smart budget choices, you can create entry-level home studio lighting that looks as clean and intentional as professional setups. Start simple, iterate, and document what works in your space. The payoff—crisp, flattering, consistent results—comes quickly.