
Phone Astrophotography for Beginners: Tripod and Manual Exposure Settings
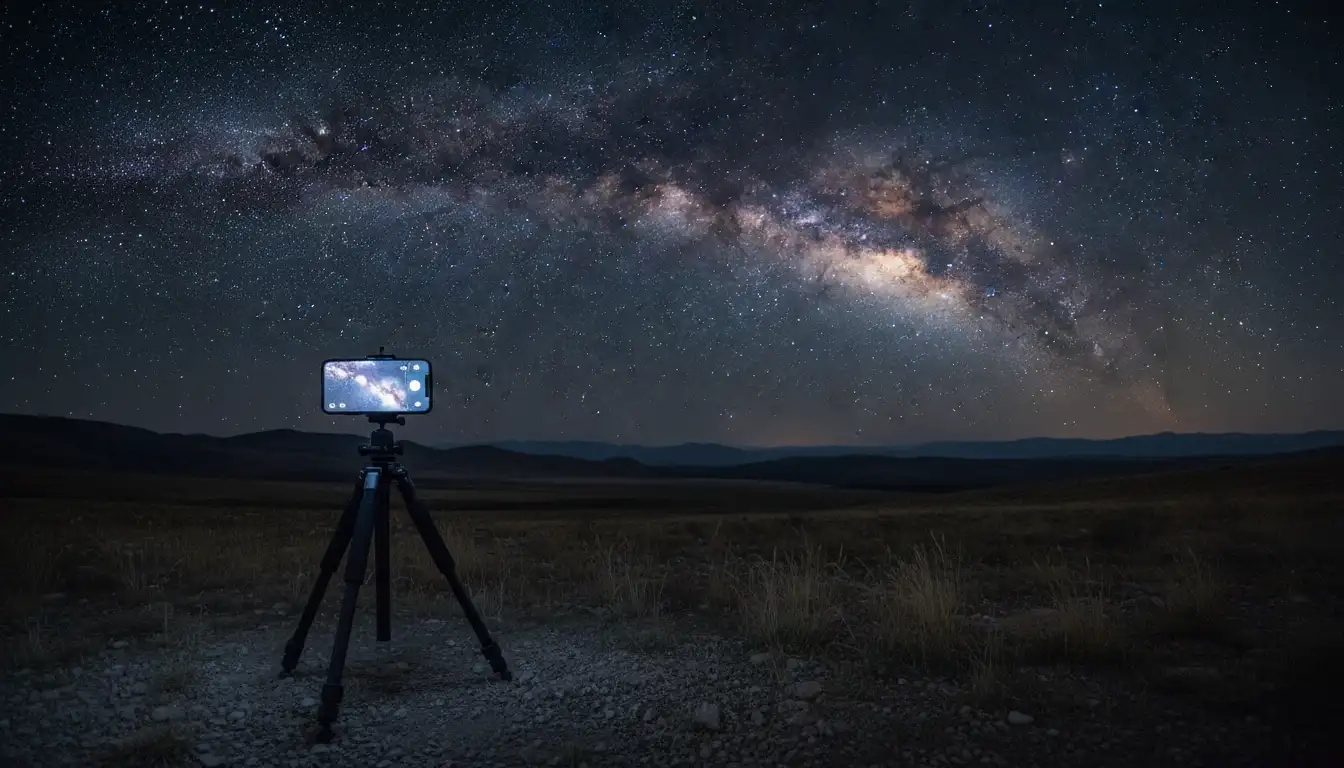
Capturing the night sky with just a smartphone is no longer a dream reserved for professionals. With a stable tripod and the right manual exposure settings, you can photograph stars, constellations, and even the Milky Way using your phone. In this guide, you’ll learn how to get started with phone astrophotography in a practical, beginner‑friendly way.
Why a Tripod Is Essential for Phone Astrophotography
Long exposure photography collects light over several seconds. During that time, any movement will blur the image. Smartphones are extremely sensitive to even tiny shakes, so a tripod becomes non‑negotiable for sharp night sky photos.
Benefits of using a tripod
- Eliminates camera shake: Keeps your phone perfectly still during 5–30 second exposures.
- Enables lower ISO: Less noise because you don’t need to crank ISO too high to compensate for hand movement.
- Consistent framing: You can fine‑tune composition and keep the same scene while adjusting settings.
- Hands‑free shooting: You can use a remote shutter or timer without touching the phone.
What to look for in a tripod for smartphone astrophotography
When choosing a tripod, focus on stability and flexibility rather than size alone.
- Solid build quality: Aluminum or carbon fiber legs resist wind better than super‑cheap plastic models.
- Adjustable height: A tripod that goes low to the ground will be more stable and better for shooting the sky straight up.
- Ball head or flexible head: Allows you to angle the phone toward the sky easily.
- Reliable phone mount: A firm, rubber‑lined clamp holds your phone without slipping.
If you already own a camera tripod, you can simply add a universal smartphone holder instead of buying a new tripod system.
Preparing Your Smartphone for Astrophotography
Before changing any exposure settings, prepare your phone so it can perform as well as possible in low light.
Basic preparation steps
- Clean the lens: Use a microfiber cloth. Fingerprints ruin sharpness, especially in low light.
- Disable flash: The flash can’t light up the night sky; it only overexposes nearby objects.
- Turn off HDR and live photo (if possible): These modes can introduce ghosting or odd processing at night.
- Use airplane mode: Reduces notifications and vibrations that might shake the phone on the tripod.
- Lower screen brightness: This preserves your night vision and makes it easier to see faint stars.
Some phones have a built‑in Night mode or Astro mode. While those can help, you get the most control and consistency by using manual (Pro) mode or a dedicated camera app that offers manual exposure settings.
Understanding Manual Exposure Settings for Night Sky Photos
To get clean, sharp images of stars, you need to control three main exposure settings: shutter speed, ISO, and sometimes aperture (if your phone or app supports it). White balance and focus also play a crucial role.
1. Shutter speed (exposure time)
Shutter speed determines how long the sensor collects light.
- For stars as points of light, start with:
- 5–10 seconds for wide lenses on most phones.
- For brighter scenes (city glow, moon), you can try:
- 2–5 seconds.
If you expose too long, you’ll start to see star trails due to Earth’s rotation. On smartphones with ultra‑wide lenses, you can sometimes go up to 15–20 seconds, but test and zoom in to check if the stars are still sharp.
2. ISO (sensor sensitivity)
ISO controls how sensitive the sensor is to light. Higher ISO brightens the image but adds noise.
- For darker skies:
- Start around ISO 800–1600.
- For moderately light‑polluted areas:
- Try ISO 400–800.
- Avoid going much higher than ISO 3200 on most phones, or noise will dominate.
The goal is to balance shutter speed and ISO so that the sky is bright enough without turning into a noisy mess. Use the histogram or simply review your shots and adjust one setting at a time.
3. Aperture
Most smartphones have a fixed aperture (for example, f/1.8 or f/1.5). If your phone or lens mode offers an adjustable aperture:
- Use the widest aperture (smallest f‑number) to collect as much light as possible.
- Be aware that shooting wide open can slightly soften edges, but for astrophotography, the extra light usually matters more.
4. Focus (manual focus is crucial)
Autofocus struggles in the dark. Switch to manual focus if your camera app allows it.
- Slide the focus control to infinity (∞) or the far‑right side of the scale.
- Take a test shot, zoom in on a bright star or distant light, and fine‑tune until it appears as a sharp, small point.
- Once you find the perfect setting, avoid touching the focus slider again.
If your app does not support manual focus, try tapping on a distant light or star and then locking focus and exposure if the app offers that feature.
5. White balance
Automatic white balance can make the sky look too yellow or too blue. Set it manually for consistency:
- Try 4000–4500K for a neutral night sky.
- For a colder, deep‑space look, go closer to 3500K.
- For a warmer look (to balance city light pollution), try 4500–5000K.
You can always fine‑tune color in post‑processing, but a good starting point reduces editing time.
Step‑by‑Step: How to Shoot Your First Astro Photo with a Phone
Follow this simple workflow to take your first phone astrophotography shot.
- Scout your location
- Choose a dark, open area away from city lights.
- Avoid bright street lamps or car traffic in your frame.
- Set up your tripod and phone
- Mount the phone securely in the holder.
- Angle the lens toward your target (Milky Way band, constellation, or just a star‑filled region).
- Tighten all tripod knobs to prevent drift during the exposure.
- Open your manual or Pro camera app
- Select the wide or ultra‑wide lens for more sky.
- Switch to manual mode (M, Pro, or similar).
- Dial in starting settings
- Shutter speed: 10 seconds
- ISO: 800–1600
- Focus: Manual, set to infinity
- White balance: ~4000K
- Turn off flash, HDR, and other auto enhancement modes.
- Use a timer or remote shutter
- Set a 2–5 second self‑timer or use a Bluetooth remote.
- This prevents blur from tapping the shutter button.
- Take a test shot and review
- Zoom into the stars on the preview: are they sharp points or blurry blobs?
- If too dark, either increase ISO a bit or extend shutter speed (e.g., from 10s to 12–15s).
- If too bright or washed out, lower ISO or shorten shutter speed.
- Refine composition and repeat
- Try including interesting foreground elements like trees, a tent, or a silhouette to add depth.
- Take multiple shots with slightly different settings and compositions.
Tips to Keep Your Phone Astrophotography Organic and Natural
Natural‑looking astrophotos feel more immersive and less artificial. To keep your images organic:
- Avoid extreme noise reduction: Over‑processed images look smeared and lose star detail. Use moderate noise reduction in editing.
- Keep colors believable: Don’t push saturation too high. The night sky should look rich but not neon.
- Preserve contrast: Slightly deepen blacks and midtones while keeping the stars bright.
- Shoot in RAW if possible: Many manual camera apps let you capture RAW, giving you more flexibility for subtle, natural edits later.
- Use minimal AI filters: Strong AI filters can create halos or fake textures. Prioritize manual adjustments for an authentic feel.
Common Mistakes to Avoid in Smartphone Astrophotography
New astrophotographers often face similar problems. Being aware of them will save you time and frustration.
- Hand‑holding long exposures
- Even a 1‑second exposure can blur without a tripod. Always stabilize the phone.
- Using auto mode at night
- Auto mode tends to choose very high ISO and short shutter speeds, resulting in noisy and underexposed stars. Manual control is essential.
- Underestimating light pollution
- Bright city skies wash out stars. If you can, travel even 15–30 minutes out of town for dramatically better results.
- Not checking focus at 100% zoom
- A shot that looks sharp at full screen may actually be slightly out of focus. Always pinch‑zoom to verify.
- Ignoring battery and temperature
- Long exposures and cold nights drain batteries quickly. Bring a power bank, and try to keep your phone slightly warm in very cold weather.
Recommended Entry‑Level Tripod for Phone Astrophotography (Amazon)
On Amazon.com, a widely used and beginner‑friendly option is the UBeesize Phone Tripod with Wireless Remote (model names and availability can change over time). It typically offers:
- A flexible yet stable tripod design
- A universal smartphone mount
- A Bluetooth remote shutter for hands‑free long exposures
- Lightweight construction that you can easily carry to dark sky locations
Before purchasing, check current reviews and specs to ensure it meets your height and stability needs for phone astrophotography.