
Cinematic Mobile Video: Mastering 24 fps, Shutter Angle, and ND Filters
Creating cinematic video with a smartphone is no longer a dream reserved for professional filmmakers. With the right settings and a basic understanding of film principles such as 24 fps, shutter angle, and ND (Neutral Density) filters, you can turn your mobile device into a powerful storytelling tool. In this guide, you’ll learn how to make your phone footage look like it came from a movie set, while keeping everything practical and beginner‑friendly.
Why 24 fps Looks Cinematic
Frame rate is one of the key elements that makes video feel either “cinematic” or “video‑like.” Movies are traditionally shot at 24 frames per second (24 fps), and our brains now associate this look with cinema.
When you shoot at 24 fps on your phone:
- Motion appears slightly more “dreamy” and natural.
- The footage avoids the “soap opera” or overly smooth look of high frame rates.
- You get closer to the classic film aesthetic used in Hollywood productions.
Most modern smartphones allow you to change frame rate in the camera app or a third‑party manual camera app. For cinematic projects such as short films, travel videos, or storytelling reels, set your frame rate to 24 fps and stick with it for the entire project. Mixing different frame rates can cause motion inconsistencies and make your edit feel less polished.
Understanding Shutter Angle and Shutter Speed
In mobile filmmaking, shutter angle is a concept borrowed from traditional film cameras, but we usually control it by adjusting shutter speed.
The classic cinematic standard is a 180‑degree shutter angle. Translated into shutter speed, this means:Shutter Speed≈12×Frame Rate\text{Shutter Speed} \approx \frac{1}{2 \times \text{Frame Rate}}Shutter Speed≈2×Frame Rate1
So for 24 fps:Shutter Speed≈148 second\text{Shutter Speed} \approx \frac{1}{48} \ \text{second}Shutter Speed≈481 second
Since phones usually don’t offer 1/48, you typically choose 1/50. This creates natural motion blur that our eyes find pleasing and cinematic.
If your shutter speed is too fast (e.g., 1/500 or 1/1000 in bright daylight), your footage will look choppy and “crispy” in a bad way, with almost no motion blur. This is great for slow‑motion sports or action analysis, but not for cinematic storytelling. If it’s too slow, everything becomes smeared and hard to watch.
By locking your shutter speed close to 1/50 at 24 fps, you:
- Maintain consistent motion blur.
- Achieve the familiar film‑like movement.
- Create a solid base for color grading and post‑production.
Most manual camera apps for smartphones allow you to set frame rate and shutter speed independently. Switch to manual or “pro” mode and lock your settings instead of relying on full auto.
Why ND Filters Are Essential for Mobile Cinematic Video
Once you fix your frame rate to 24 fps and your shutter speed to around 1/50, you quickly hit a problem: in bright outdoor conditions, your image becomes overexposed. You can lower ISO to its minimum, but the picture will still be too bright.
This is where ND filters come in.
An ND filter works like sunglasses for your lens. It reduces the amount of light entering the camera without changing color (if it’s a good quality ND). With less light hitting the sensor, you can:
- Keep 24 fps and 1/50 shutter speed.
- Maintain a wider aperture (on phones that have variable aperture or simulate shallow depth of field).
- Avoid blowing out highlights in the sky or skin tones.
For mobile filmmakers, ND filters are crucial to keeping the cinematic motion blur consistent in all lighting conditions.
Fixed ND vs. Variable ND Filters for Smartphones
There are two main types of ND filters you’ll encounter when shooting mobile video:
Fixed ND Filters
- Provide a single, fixed level of light reduction (e.g., ND8, ND16, ND32).
- Ideal when you know your lighting conditions will stay consistent.
- Often deliver cleaner and more consistent image quality.
For example:
- ND8 reduces light by 3 stops — good for slightly bright overcast days.
- ND16 reduces light by 4 stops — useful for sunny environments.
- ND32 or ND64 — for very bright midday sun.
Variable ND Filters
- Combine multiple ND strengths into one filter using rotating glass.
- Allow you to dial in exactly how much light reduction you need.
- Very practical for run‑and‑gun mobile filmmaking and travel shooting.
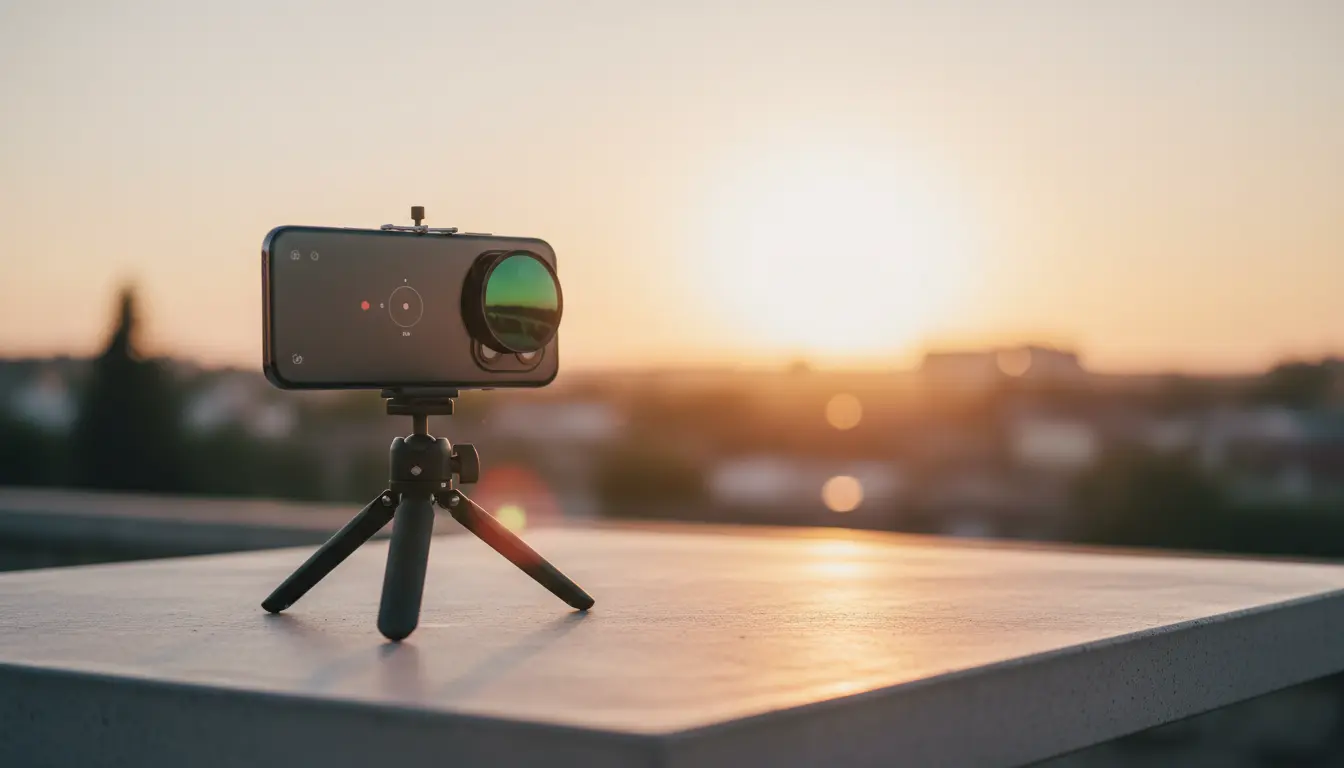
A high‑quality variable ND filter saves time when moving between different lighting conditions. Instead of swapping filters, you simply rotate the ring until your exposure is correct while keeping 24 fps and 1/50 shutter speed intact.
Balancing Exposure: ISO, Shutter Speed, and ND
To keep a cinematic look, treat shutter speed and frame rate as constants, then balance exposure with ISO and ND filters:
- Set frame rate to 24 fps.
- Set shutter speed to 1/50.
- Set ISO to the lowest value supported, usually 50 or 100 on many smartphones.
- If the image is still too bright, add ND filtration:
- Start with ND8 or ND16.
- Increase ND strength until highlights are under control and nothing important is clipped.
This workflow keeps noise low, motion natural, and exposure stable. It also makes your footage easier to color grade later, giving you more latitude to push contrast and saturation without destroying image quality.
ND Filters and Depth of Field on Mobile
Smartphones naturally have a deep depth of field because of their small sensors and short focal lengths. Still, modern phones use larger sensors, faster lenses (e.g., f/1.8 or f/1.6), and computational background blur in “cinematic mode.”
ND filters help you:
- Keep the lens at its widest aperture to maximize real optical separation between subject and background.
- Avoid stopping down or letting the phone automatically change its exposure in ways that kill the shallow‑depth‑of‑field look.
While you won’t always get DSLR‑level bokeh, ND filters support the phone’s ability to create a more cinematic subject isolation, especially in close‑ups.
Practical Tips for Cinematic Mobile Video
To make the most of 24 fps, shutter angle, and ND filters on your phone, follow these practical tips:
- Use a manual video app
Choose an app that lets you lock frame rate, shutter speed, ISO, and white balance. Automatic exposure changes can ruin cinematic consistency. - Lock white balance
Avoid auto white balance shifts while recording. Fixed white balance gives your footage a professional, stable look and makes color grading more predictable. - Stabilize your phone
Use a tripod or a gimbal where possible. Even with optical or electronic stabilization, physical support helps maintain smooth motion that complements the 24 fps look. - Shoot with intention
Plan your movements. Slow push‑ins, pans, and tracking shots look better at 24 fps with natural motion blur than quick, shaky motions. - Monitor exposure with a histogram or zebras
Many apps offer exposure tools. Keep detail in the highlights, especially in the sky and skin tones, by adjusting your ND filter strength. - Grade your footage
If possible, shoot in a flat or log‑like profile on your phone. Combined with proper 24 fps and correct shutter angle, a gentle color grade can push your video to a truly cinematic level.
Common Mistakes to Avoid
When you start experimenting with cinematic settings on your smartphone, avoid these frequent errors:
- Leaving shutter speed on auto
This often results in unnatural motion, especially when the phone compensates for bright light with extremely fast shutter speeds. - Overusing high frame rates
60 fps or 120 fps are great for slow motion but should not be your default for real‑time playback if you want a film look. - Ignoring ND filters in daylight
Shooting at 24 fps without ND under bright sun nearly guarantees blown highlights or overly fast shutter speeds. - Mixing too many frame rates and color profiles
Staying consistent across your project makes editing smoother and keeps the final video cohesive.
Recommended Amazon Product for Mobile Filmmakers
For a reliable and flexible solution, consider a high‑quality variable ND filter kit designed for smartphones available on Amazon. Look for a kit that includes:
- A clamp or magnetic mount compatible with most phone models,
- A variable ND range (for example, ND2–ND32),
- Multi‑coated glass to reduce color shifts and flares,
- A compact case for protection during travel.
A good variable ND filter kit quickly becomes one of the most valuable accessories in a mobile filmmaker’s bag, making it far easier to maintain a cinematic 24 fps look in any lighting conditions.