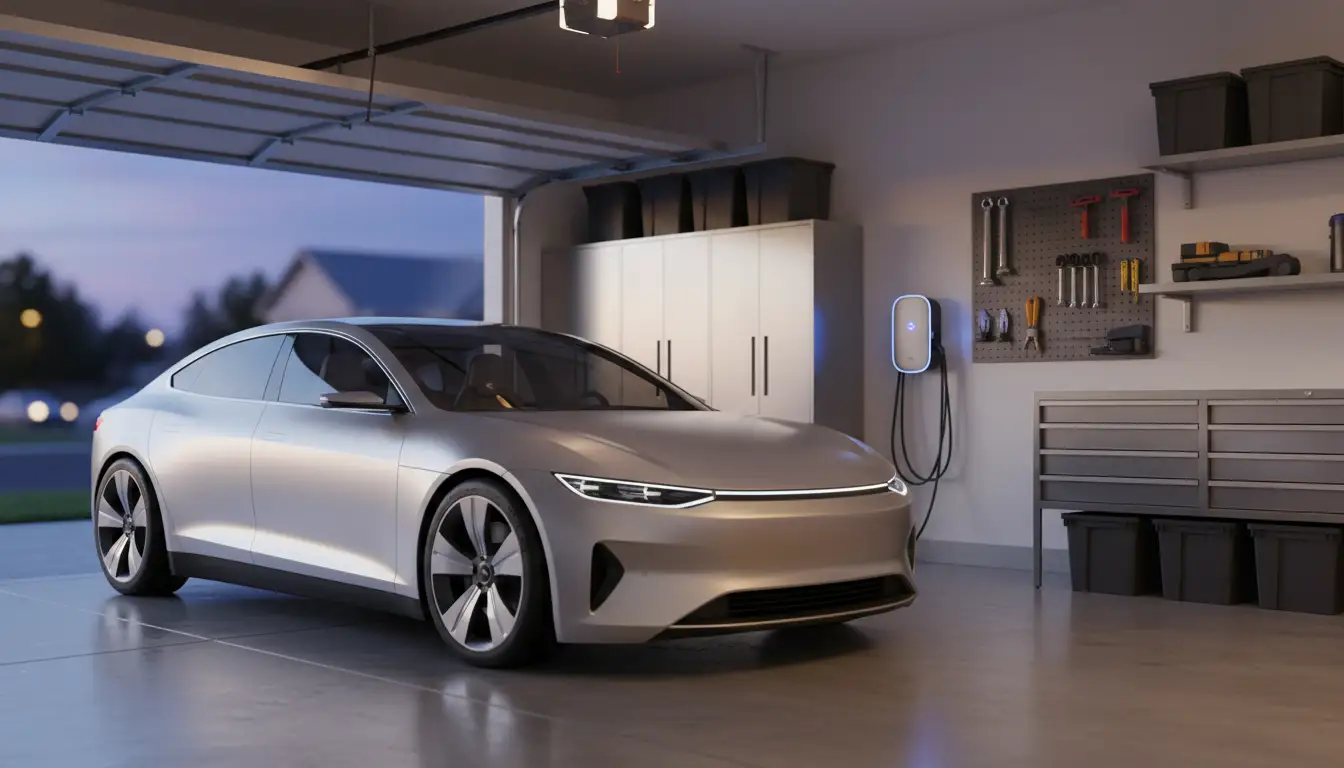

As electric vehicles (EVs) become mainstream, installing a Level 2 (L2) home charging station is one of the smartest upgrades you can make. Compared to a standard Level 1 plug, an L2 charger dramatically cuts charging time, improves convenience, and can even enhance your property’s appeal. This comprehensive guide explains what a home L2 charger is, how it works, the benefits, the electrical requirements, typical costs, safety and permitting considerations, and best practices to ensure a reliable, future-proof installation.
What is a Level 2 (L2) Home EV Charger?
A Level 2 charger delivers AC power at 240V, typically between 16A and 50A, enabling 3.3 kW to 12 kW (or more) charging rates depending on your EV and the circuit. In practical terms, an L2 charger can add roughly 20–40 miles of range per hour (mi/h), compared to about 3–5 mi/h on Level 1. Most L2 units are wall-mounted, weather-resistant, and compatible with widely used connectors (e.g., J1772 in North America, Type 2 in Europe). Many models include Wi‑Fi, app control, scheduling, and energy monitoring for smarter charging.
Why Install an L2 Charger at Home?
- Speed and convenience: Overnight charging fully replenishes most batteries, so you start every day with a near-full charge.
- Lower total cost of ownership: Charging at home often costs less per kWh than public stations and reduces time spent detouring to charge.
- Energy optimization: Smart chargers can schedule charging during off‑peak hours for lower rates and lighter grid load.
- Property value and long-term utility: As EV adoption grows, a dedicated home charger is an attractive amenity for future buyers.
Electrical Requirements and Panel Capacity
An L2 charger needs a dedicated 240V circuit. The required breaker size depends on the charger’s continuous current draw and must comply with the 80% rule (in many jurisdictions), where continuous loads should not exceed 80% of the breaker rating. For example:
- A 40A charger typically requires a 50A breaker on a dedicated circuit with appropriately sized wire (e.g., 6 AWG copper in many installations—verify with local code).
- A 32A charger often pairs with a 40A breaker.
- A 16–20A charger may use a 20–25A breaker.
First, assess your main electrical panel’s capacity:
- Check main service rating (e.g., 100A, 150A, 200A).
- Calculate existing loads (HVAC, oven, dryer, etc.).
- If near capacity, consider a load calculation by a licensed electrician. Solutions include panel upgrade, load management device, or a lower-amp smart charger with dynamic load balancing.
Hardwired vs. Plug-In
- Hardwired: Directly connected to your home’s electrical system. Often required for outdoor installations, better weather sealing, and sometimes preferred by code or for higher amperage.
- Plug-in (e.g., NEMA 14‑50 or 6‑50): Flexible and easy to replace or relocate the charger. Ensure receptacle is rated and installed per code, and confirm location is safe, dry, and accessible.
Your choice depends on local code, amperage needs, and whether you prefer portability or a permanent setup.
Site Selection and Cable Management
Pick a mounting location that balances safety, accessibility, and practicality:
- Proximity to the parking spot and charge port to minimize cable strain. Aim for a cable length of 18–25 feet to reach comfortably without tripping hazards.
- Avoid extreme heat or direct, constant sunlight. If outdoors, verify the charger’s enclosure rating (e.g., NEMA 3R or IP54+).
- Keep the unit off the floor and follow clearance guidelines from the manufacturer.
- Use cable hooks or retractors to prevent wear and maintain neatness.
- Ensure the path from panel to charger allows clean conduit runs and proper bonding/grounding.
Permits, Code, and Safety
Electrical work for an L2 charger usually requires a permit and inspection. Typical steps:
- Pre-install assessment and load calculation.
- Permit application with your municipality.
- Installation by a licensed electrician.
- Inspection to verify code compliance.
Key safety practices:
- Use the correct breaker, wire gauge, and GFCI requirements as per local code.
- Ensure proper bonding and grounding. Follow manufacturer torque specs on terminals.
- If outdoors, use weatherproof enclosures, in-use covers for receptacles, and UV-rated conduit where required.
- Label the dedicated circuit in the panel.
Always consult local codes (e.g., NEC in the U.S., local equivalents elsewhere) and follow manufacturer instructions.
Smart Features and Energy Management
Modern L2 chargers provide:
- Scheduling: Charge during off-peak hours to reduce costs and carbon intensity.
- Load balancing: Some systems dynamically limit current to prevent panel overload or share power between two chargers.
- Monitoring: Track kWh usage, cost, and charging history via app or web dashboard.
- Integrations: Utility demand response programs, solar-aware charging (prioritize surplus PV energy), or compatibility with home energy management systems.
If you have rooftop solar, a solar-aware charger can align charging when solar output is high, increasing self-consumption and lowering grid draw.
Cost Breakdown
Costs vary by region, equipment, and complexity:
- Equipment: $300–$900 for most residential L2 chargers; premium smart models can exceed $1,000.
- Installation: $300–$1,500+ depending on distance from panel, conduit runs, wall penetrations, trenching (if detached garage), and panel upgrades if needed.
- Permits/inspection: $50–$300+ depending on jurisdiction.
- Panel upgrade (optional): $1,500–$3,500+ if required due to limited capacity.
Check for incentives: - Government rebates, tax credits, and utility incentives can significantly offset costs. Utilities may also offer special EV rates.
Installation Steps (High-Level)
- Evaluate panel capacity and site conditions.
- Select charger model, amperage, and mounting type (hardwired vs. plug-in).
- Obtain permits and schedule installation.
- Run dedicated 240V circuit, install breaker, wire, conduit, and receptacle or hardwire whip.
- Mount and commission the charger; connect to Wi‑Fi/app.
- Pass inspection and test with your EV.
- Configure schedules and notifications; enable firmware updates.
Common Pitfalls and How to Avoid Them
- Undersized circuit: Leads to nuisance trips or unsafe operation. Follow the 80% rule and manufacturer specs.
- No permit/inspection: Can cause insurance or resale issues. Always comply with local requirements.
- Poor cable management: Causes premature wear or tripping hazards. Use a holster and hook.
- Inadequate weather protection: For outdoor use, ensure proper enclosure ratings and installation practices.
- Overlooking future needs: If you may add a second EV, consider higher-amp circuits or dual-port/load-sharing solutions.
Future-Proofing Your Setup
EV battery sizes and onboard chargers are evolving. Consider:
- Running conduit and wire sized for future higher amperage if feasible.
- Choosing a smart charger with firmware updates and open protocols.
- Planning layout for a potential second charger and shared load.
Environmental and Lifestyle Benefits
Charging at home often means cleaner, cheaper energy—especially when paired with time-of-use rates or solar PV. Stable overnight charging can extend battery health by avoiding frequent fast-charging stress and helps you maintain a predictable daily routine. Over time, these benefits add up to lower total ownership costs and a smaller carbon footprint.
Installing a Level 2 home EV charger is a practical, cost-effective upgrade that enhances daily convenience, supports sustainable driving, and prepares your home for the future of mobility. With proper planning—correct circuit sizing, permits, smart features, and thoughtful placement—you’ll enjoy fast, safe, and reliable charging for years to come.