
Tips for Capturing Sharp Low-Light Portraits with Your Phone
Shooting portraits in low light with a phone can be frustrating: autofocus hunts, noise appears, and details soften. But with the right approach—composition, stabilization, lighting tricks, and careful post-processing—you can consistently get sharp, flattering portraits without needing a pro camera. This guide is device-independent: the principles work on any smartphone, from basic cameras to flagship devices.
1. Understand the trade-offs: ISO, shutter, aperture
Low light forces compromises. On phone cameras, aperture is fixed for most models, so the two primary controls are shutter speed and ISO. A slower shutter lets in more light but increases motion blur; a higher ISO brightens the image but increases noise. For sharp portraits:
- Favor the fastest shutter speed you can while keeping exposure acceptable. For a still subject, aim for 1/60s or faster; for slight head movement, push to 1/125s.
- Keep ISO as low as possible while maintaining that shutter speed. Modern phones can handle higher ISO, but less noise equals more perceived sharpness.
- When in manual (pro) mode, monitor both shutter and ISO rather than letting the phone choose extremes.
2. Stabilize everything — the single biggest win
Shaky hands are the primary cause of soft images in low light.
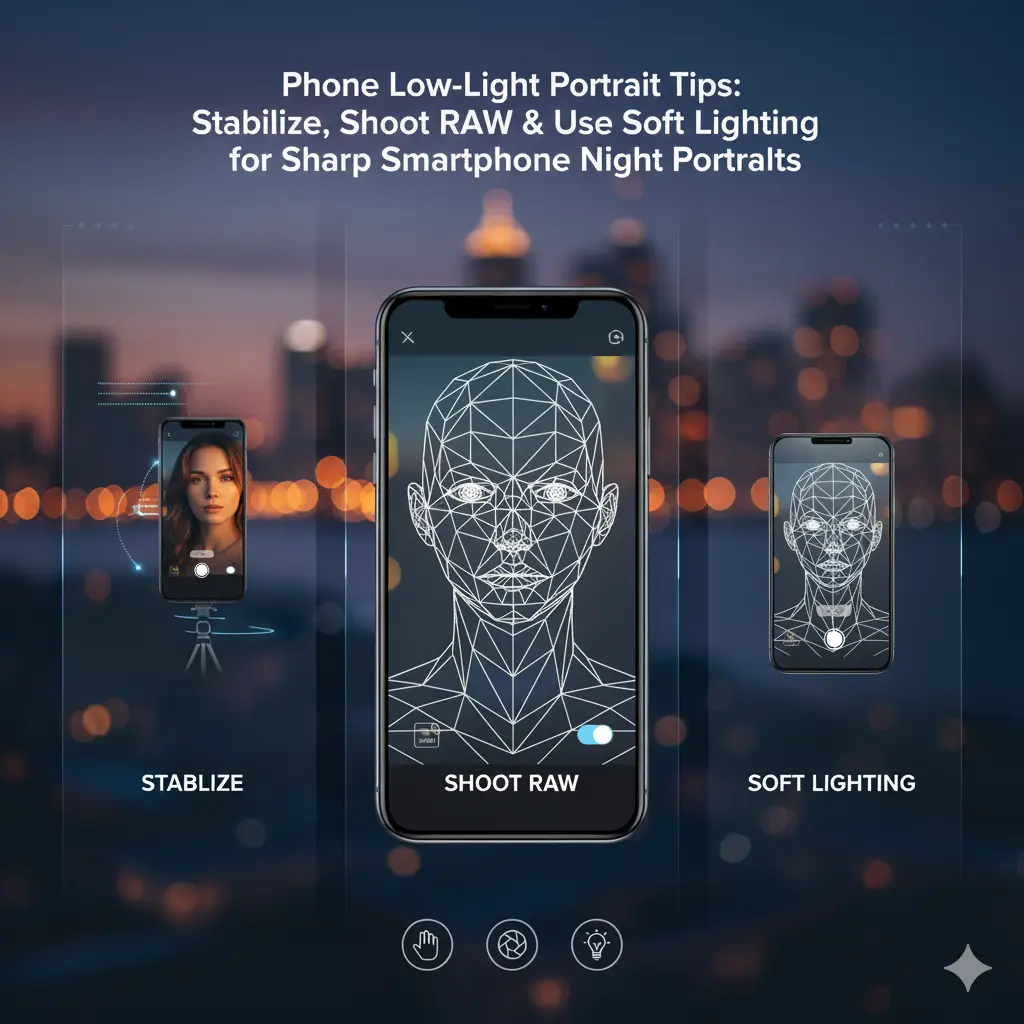
- Use a tripod or tabletop support whenever possible. Even inexpensive mini-tripods make a huge difference.
- If you don’t have a tripod, brace your elbows against your body, tuck your arms in, and lean on a stable surface.
- Use a timer or a Bluetooth remote to avoid pressing the shutter (or the volume button) directly.
- Consider a makeshift stabilizer: a stack of books, a ledge, or a coat folded under the phone can work.
3. Lock focus and exposure for consistent results
Phones can hunt for focus in dim conditions.
- Tap to focus on the subject’s eyes and, if available, enable focus lock (AE/AF lock). This freezes the focus and exposure while you recompose.
- Use exposure compensation to avoid under- or overexposure—tap and slide the sun icon (where available) to darken or brighten.
- In pro mode, manually set focus to avoid hunting, especially for side-lit or backlit portraits.
4. Use available light intelligently
You don’t need bright light—just the right light.
- Use a large, soft light source close to the subject. Window light, a lampshade, or a diffused floor lamp will flatter skin and preserve detail.
- Position the light at a slight angle above and to one side for dimension; avoid flat, direct on-axis light.
- If you have no soft light, use bounced light from a wall or ceiling; reflections create softer highlights than direct LED or phone flash.
5. Make the phone’s flash useful — or avoid it
On-camera flashes often flatten portraits.
- Avoid the harsh direct flash unless you have no other option. If you must use it, soften it by bouncing it off a white surface or placing a small tissue or diffuser over the flash (careful of overheating and damage).
- Use a second phone or small LED panel as a remote light source. Placing it off-axis and slightly above the subject creates pleasing catchlights and depth.
6. Choose the best lens on multi-camera phones
If your phone has multiple lenses:
- The wider lens typically has a larger aperture and better low-light performance than telephoto modules. Favor the lens that produces the cleanest, brightest image.
- Avoid digital zoom—move closer instead. Cropping later preserves more detail than enlarging in-camera.
7. Optimize camera settings: RAW, night mode, and stabilization
- Shoot RAW (DNG) when possible. RAW saves more detail and offers stronger noise reduction and sharpening options during editing.
- Use Night Mode when the subject can stay still. Night modes often combine multiple frames to improve exposure and reduce noise, but they require steadiness.
- Turn off aggressive in-camera smoothing or beauty modes; they soften detail and can make images look plasticky.
8. Direct the subject for minimal movement
Motion blur from subject movement is as harmful as camera shake.
- Ask your subject to take a deep breath and hold a relaxed pose for a single second during the shot.
- Use poses that minimize quick movements—leaning against a wall, seated poses, or hands placed steadily on knees reduce motion.
- Encourage micro-expressions or slow gestures rather than abrupt moves.
9. Compose with contrast and background in mind
A clear separation between subject and background helps the camera focus and improves perceived sharpness.
- Choose a darker or simpler background to let the subject stand out.
- Use backlights or rim lights (a dim lamp or an off-camera LED) to separate hair and shoulders from the background.
- Keep busy textures away from the face area to prevent autofocus confusion.
10. Use burst and bracket strategies
- Take multiple frames in burst mode to increase chances of at least one tack-sharp shot.
- Use exposure bracketing if your phone supports it; combine frames in post for balanced exposure without losing detail in shadows.
11. Edit with restraint to preserve detail
Good editing increases perceived sharpness without introducing artifacts.
- Apply noise reduction first, but don’t overdo it—excessive denoising removes fine texture.
- Apply selective sharpening to the eyes, lashes, and lips rather than uniform sharpening across the face.
- Correct white balance to remove color casts from mixed lights; neutral tones help skin look natural and sharp.
- Use local adjustments to selectively brighten catchlights and eyes.
12. Leverage apps and tools
- Pro camera apps (e.g., Halide, Camera FV-5, Open Camera) often offer better manual controls than stock apps: manual ISO, shutter, RAW, and focus peaking.
- Use simple denoise and sharpening apps (e.g., Snapseed, Lightroom Mobile) for controlled post-processing.
13. Plan for retouching but avoid over-processing
- Minor retouching can restore a sharp look—clarify, texture, and contrast adjustments help—but avoid heavy smoothing.
- Preserve pores and micro-contrast in skin to maintain realism; sharpening alongside selective noise reduction works best.
14. Learn from each shot
Study your images: check EXIF or in-app info to see which settings produced the sharpest results. Note what worked—lighting position, shutter speed, ISO—and repeat those setups.
15. Practical checklist for each low-light portrait
- Stabilize the phone (tripod or braced).
- Lock focus on the eyes; set exposure compensation if needed.
- Use the widest/brightest lens available; avoid digital zoom.
- Add soft, close light (window, lamp, or LED).
- Ask the subject to stay still; use burst/night mode depending on steadiness.
- Shoot RAW and process minimally for noise and sharpness.
Low-light portrait photography with a phone rewards preparation and subtlety. Rather than blasting the scene with the brightest flash or cranking ISO, prioritize steadiness, controlled light, and smart exposure choices. With practice you’ll learn how to read the available light, guide your subject, and produce portraits that look crisp, natural, and full of character—no extra gear required.