
iPhone Data Backup and Restore: A Complete Guide Using iCloud and Finder
Ensuring your iPhone data is safe is one of the most important steps you can take to protect your photos, messages, apps, and settings. Whether you’re upgrading to a new device, troubleshooting an issue, or preparing for unexpected loss, knowing how to back up and restore your iPhone with iCloud or Finder is essential. This guide will walk you through everything you need to know in a clear and detailed way.
Why Backing Up Your iPhone Matters
Your iPhone contains valuable personal information—memories, contacts, messages, and work files. If your device is lost, stolen, or damaged, backups give you peace of mind by allowing you to restore all content with minimal hassle. Apple offers two primary ways to back up and restore your iPhone: iCloud and Finder (on macOS Catalina and later).
Method 1: Backing Up Your iPhone With iCloud
iCloud provides a wireless, automatic option for safeguarding your device data.
- Make sure your iPhone is connected to Wi-Fi.
- Go to Settings > [Your Name] > iCloud > iCloud Backup.
- Toggle iCloud Backup to ON.
- Tap Back Up Now to create your first backup instantly.
Once enabled, iCloud automatically backs up your iPhone data daily when the phone is plugged in, connected to Wi-Fi, and locked.
What iCloud Backs Up:
- Photos and videos (if iCloud Photos is not enabled)
- App data and home screen layouts
- Messages (iMessage, SMS, and MMS)
- Device and account settings
- Ringtones, purchase history, and health data
Tip: Apple provides 5 GB of free iCloud storage, but most users will need to upgrade. Plans start at 50 GB, giving plenty of room for daily backups.
Restoring iPhone Data From iCloud
When setting up a new iPhone or after resetting your device, you can restore your backup:
- Power on your iPhone and follow the setup prompts.
- When you reach the Apps & Data screen, choose Restore from iCloud Backup.
- Sign in with your Apple ID and select your desired backup.
- Wait while your content and settings are restored.
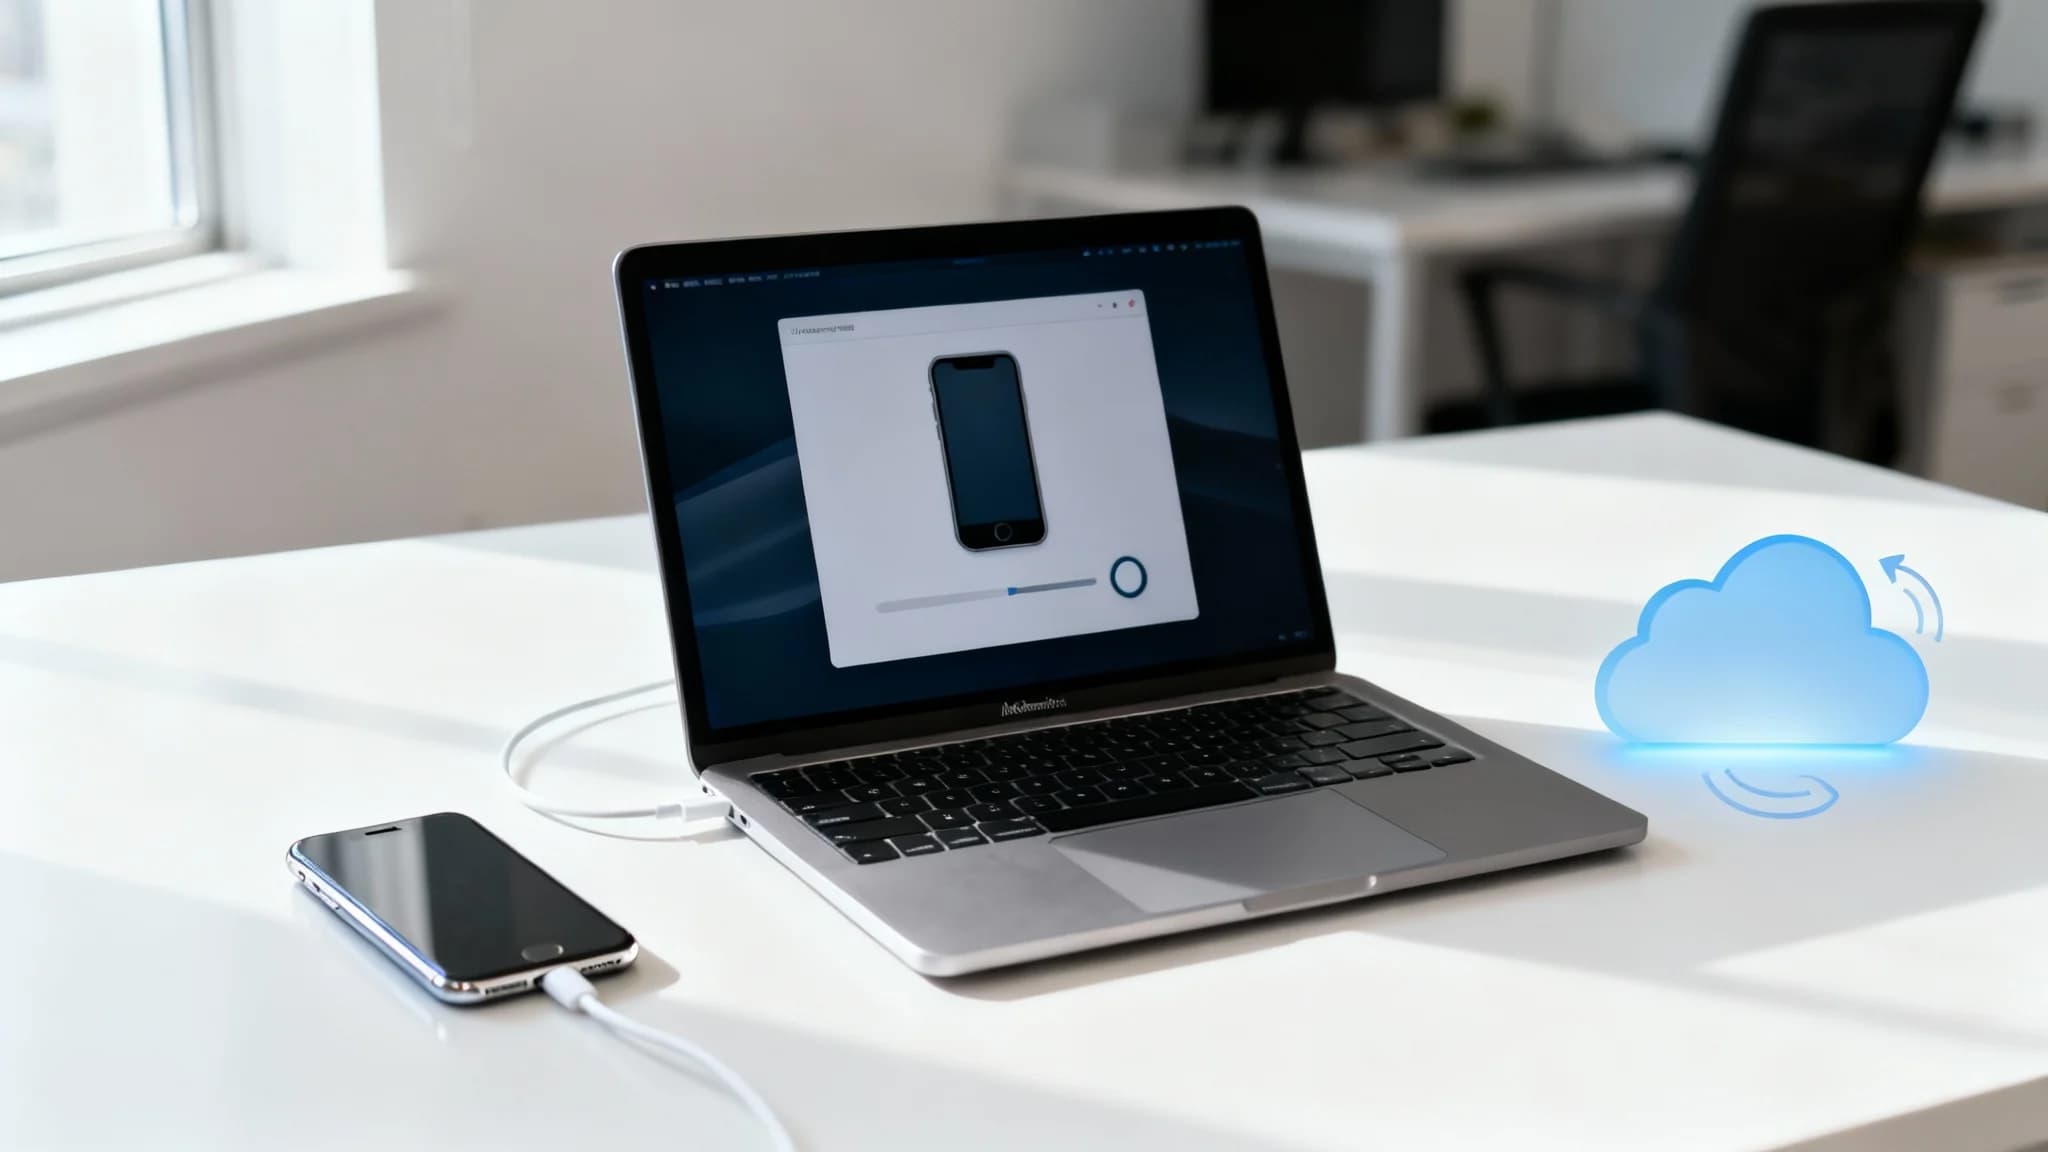
Method 2: Backing Up Your iPhone With Finder (macOS Catalina and Later)
If you prefer to manage backups directly on your computer, Finder provides an alternative to iCloud backups.
- Connect your iPhone to your Mac using a USB-C or Lightning cable.
- Open Finder and select your iPhone in the sidebar.
- Under the General tab, select Back up all of the data on your iPhone to this Mac.
- Optionally, choose Encrypt local backup to secure sensitive data such as passwords and health data.
- Click Back Up Now.
Your Mac stores this backup locally, giving you full control without relying on cloud storage.
Restoring iPhone Data With Finder
You can restore your iPhone with Finder using your saved backup:
- Connect your iPhone to your Mac.
- Open Finder and select your device.
- Under the General tab, click Restore Backup.
- Choose the backup you want to restore and click Restore.
This method is especially useful when upgrading to a new iPhone or recovering from software problems.
iCloud vs. Finder: Which Should You Choose?
Both iCloud and Finder backups offer strong advantages, and the best choice depends on your needs:
- iCloud backup: Convenient, automatic, and wireless. Accessible from anywhere with internet. Best for users who want hassle-free data protection.
- Finder backup: More control, faster restores, no reliance on internet speed. Ideal for users who prefer local storage or have limited iCloud space.
Many Apple users benefit from a combined strategy, keeping iCloud enabled for daily automatic backups while creating occasional Finder backups for added security.
Best Practices for iPhone Backups
- Keep your device updated: Ensure iOS is up-to-date before backing up.
- Encrypt Finder backups: Protect personal data, accounts, and health records.
- Check storage space: Monitor iCloud capacity and clean up unnecessary files.
- Verify backups regularly: Test your backup by restoring to confirm everything is saved properly.
- Schedule routine backups: Don’t wait until your device has issues—protect your data consistently.
Common Issues and Fixes
- iPhone won’t back up to iCloud: Make sure Wi-Fi is connected, iCloud storage isn’t full, and Low Power Mode is turned off.
- Backup takes too long: Delete large files, optimize photo storage, or switch to Finder for faster backups.
- Finder cannot detect iPhone: Try a different USB cable, update macOS, or restart both devices.
- Restore fails: Verify your iOS version matches or exceeds the backed-up version.
Final Thoughts
Backing up and restoring your iPhone is more than just a task—it’s a safeguard for your digital life. With iCloud and Finder, Apple provides seamless options whether you prefer cloud-based convenience or local control. By making regular backups and understanding the restoration process, you ensure that your data is always protected and easy to recover when you need it most.