
Data Breach Checks: A Step-by-Step Guide Using Have I Been Pwned
If you’re worried your email, passwords, or personal information might be circulating on the dark web after a data breach, you’re not alone. High-profile breaches happen frequently, and even smaller incidents can expose sensitive data. The good news: you can quickly check your exposure and take action. Have I Been Pwned (HIBP) is a widely trusted breach notification service. Enter your email address or phone number to run a fast data breach lookup, identify exposed credentials in known leaks, and get guidance on next steps to secure your accounts. In this guide, you’ll learn exactly how to use HIBP, what its results mean, and how to secure your accounts with practical, SEO-friendly best practices.
What is Have I Been Pwned?
Have I Been Pwned is a public breach notification database founded by security expert Troy Hunt.Have I Been Pwned maintains a trusted index of publicly known data breaches and credential leaks. Enter your email or mobile number to check for compromised credentials across those sources. HIBP keeps sensitive details hidden—it won’t show passwords or full records—just the breach name, exposure types, and actionable security advice.
Why it matters:



- Instant visibility into your breach exposure
- Clear attribution to specific incidents
- Free and privacy-conscious (no passwords are exposed)
Step-by-Step: How to Check if You’ve Been Breached
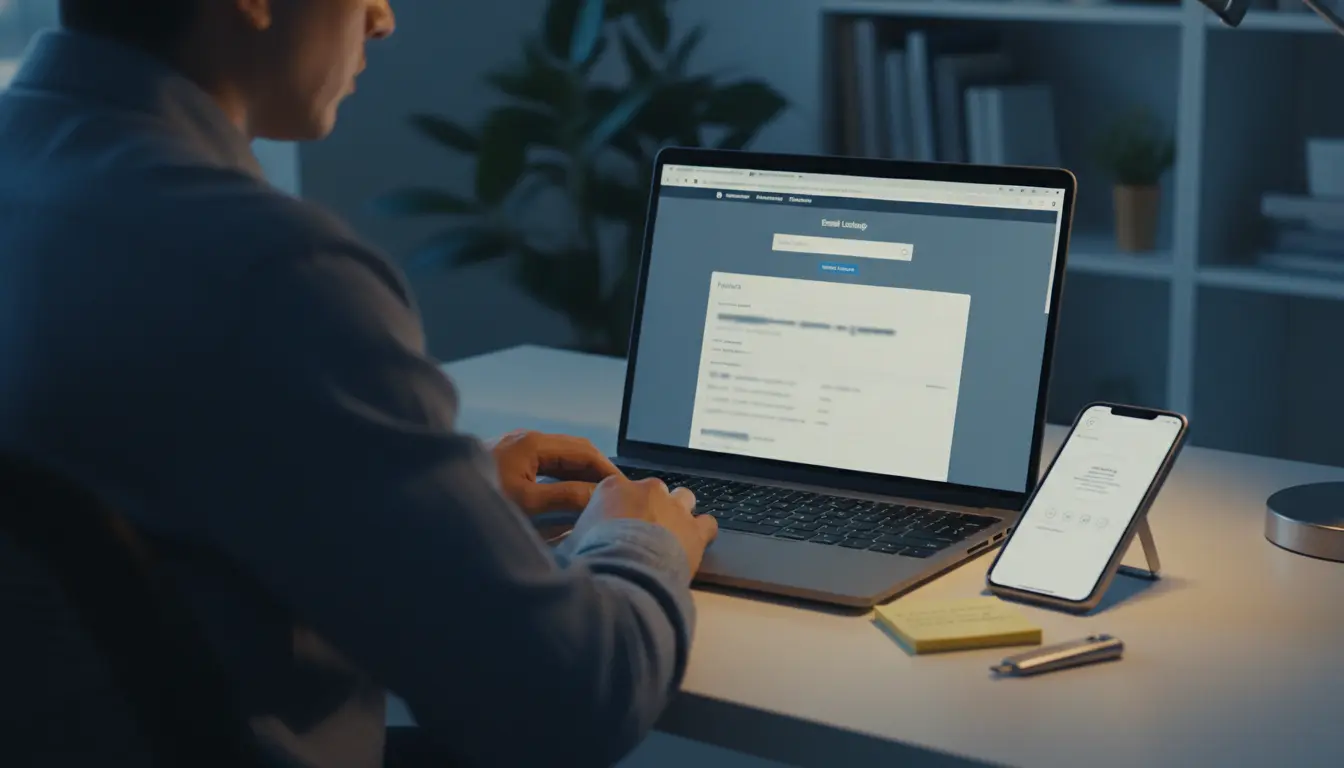
- Visit the official site
- Go to the Have I Been Pwned homepage.
- Enter your email or phone number
- Type your email address or your phone number in international format (e.g., +1 415 555 1234).
- Review the results
- “Good news — no pwnage found!” means your identifier is not in the HIBP database. Still, remain cautious; not all breaches are public.
- “Oh no — pwned!” means your identifier appeared in one or more breaches. You’ll see the names of the breached services and the types of data exposed (e.g., emails, passwords, phone numbers, dates of birth).
- Click into breach details
- HIBP’s breach pages explain what happened and what data types were compromised. This helps you prioritize your response.
- Turn on breach notifications
- Use HIBP’s notification feature to get alerts when your email appears in future breaches. This early warning can dramatically cut your response time.
Pro tip: Use Have I Been Pwned to scan every email you’ve used (primary, secondary, legacy) and your mobile number. Broader breach monitoring improves detection of exposed data and reduces account takeover risk.Modern data breaches frequently include phone numbers used for SMS login or account recovery. Scanning multiple identifiers improves breach monitoring coverage and reduces account takeover risk.
How to Respond if You’ve Been “Pwned”
If HIBP shows hits for your email or phone number, act quickly. Here’s a practical, prioritized checklist:
- Change your passwords immediately
- Start with the affected service(s). If that password was reused anywhere else, change it there too. Create a unique password per site.
- Enable multi-factor authentication (MFA)
- Prefer an authenticator app (TOTP) over SMS where possible. Physical security keys (FIDO2) are even stronger for critical accounts like email and finance.
- Use a password manager
- Password managers generate and store long, random, unique passwords. This eliminates reuse and makes rotation much easier.
- Review your email security
- Your email is the recovery hub for most accounts. Secure it with a strong, unique password and MFA. Check forwarding rules and filters for suspicious changes.
- Monitor financial and identity accounts
- Enable transaction alerts for bank and credit cards. In some regions, consider credit freezes or fraud alerts with credit bureaus.
Other
- Revoke suspicious sessions and tokens
- Sign out of all sessions on affected services. Rotate API keys and app passwords. Review connected apps and remove anything you don’t recognize.
- Update security questions and recovery info
- Replace weak or guessable security answers with random strings stored in your password manager. Verify backup emails and phone numbers.
- Watch for phishing and social engineering
- After breaches, attackers often send convincing phishing emails. Prevent phishing attacks and credential theft: treat urgent security alerts, password reset prompts, and “account locked” messages with caution. Instead of clicking links, type the site URL manually or use a trusted bookmark, then confirm from the account security page.
- Consider data removal and privacy requests
- Where applicable, submit data deletion or opt-out requests to data brokers to reduce your exposure surface.
- Document what you changed
- Maintain an incident response checklist and activity log. Note the account name, password reset date, recovery methods updated, and MFA enablement.A documented breach response trail closes remediation gaps, supports audit-ready compliance reporting, and accelerates escalation in a cybersecurity incident—helping teams prevent account takeover and demonstrate strong security hygiene.
Understanding HIBP Results and Limitations
- Not every breach is public. HIBP tracks a large number of incidents, but undisclosed or undetected breaches will not appear.
- “No pwnage found” isn’t a permanent guarantee. New breaches are added over time; enable notifications to stay informed.
- Password exposure varies. If a breach shows “passwords” as exposed, the hashing method and salt matter. Regardless, treat it as compromised and change it.
- Paste sites vs. breaches. HIBP’s paste monitoring can flag your email in public “pastes” on sites that host leaked snippets. A paste hit indicates potential exposure of compromised credentials. Respond by running a full data breach check, rotating passwords, turning on multi-factor authentication, and auditing recovery options.
Advanced Tips for Ongoing Protection
- Use passkeys where supported
- Passkeys (FIDO-based) replace passwords with strong, phishing-resistant authentication. They’re increasingly supported by major platforms.
- Segment your email usage
- Use aliases or sub-addressing (e.g., plus addressing) for different sites. If an alias leaks, you can trace the source or retire that alias.
- Regularly rotate critical passwords
- For email, cloud storage, password manager, and financial accounts, consider scheduled rotations, especially after major breach news.
- Check “Have I Been Pwned” periodically
- Quarterly checks are a good habit, even with notifications enabled.
- Security hygiene baseline
- Keep devices patched, use reputable antivirus/EDR, and avoid installing unnecessary browser extensions.
Organizational Use and Compliance Considerations
If you’re handling security for a team or company:
- Use domain search
- HIBP supports domain-wide searches for verified domain owners. This helps you identify employee exposure across multiple breaches.
- Automate alerts and workflows
- Integrate breach alerts into your incident response playbooks: trigger forced password resets, session revocations, and MFA audits.
- Educate employees
- Regularly train teams to spot phishing, update credentials, and report suspicious activity quickly.
- Align with frameworks
- Map your breach response to frameworks like NIST CSF or ISO 27001 to standardize practices and reporting.
Frequently Asked Questions
- Is HIBP safe to use?
- Yes. You only enter your identifier; HIBP does not ask for your password and does not reveal secrets.
- Do I need to pay?
- Checking your exposure and setting basic notifications is free for individuals.
- What if my account appears in many breaches?
- Prioritize the ones that include passwords or sensitive PII. Update those credentials immediately and enable MFA everywhere.
Quick Action Plan
- Step 1: Search your email and phone on Have I Been Pwned.
- Step 2: If found, change passwords and enable MFA right away.
- Step 3: Use a password manager and unique passwords per site.
- Step 4: Turn on notifications to stay ahead of new breaches.
- Step 5: Monitor financial accounts and be vigilant for phishing.
By combining quick checks with strong authentication, unique passwords, and ongoing monitoring, you’ll drastically reduce the risk that a breach turns into account takeover or identity theft.