
Speeding Up Windows 11 Boot Time: A Complete Guide to Managing Startup Apps
If your Windows 11 PC is taking too long to start, one of the most effective fixes is optimizing what launches automatically at boot. Startup apps and background services can silently add seconds—or even minutes—to your boot time. This guide walks you through proven methods to reduce Windows 11 startup time, with a strong focus on managing automatic startup programs, trimming background processes, and applying system-level tweaks. Follow the steps below to make your system boot faster, feel snappier, and stay stable.
Why Windows 11 Starts Slowly
Windows 11 often loads more than just the OS: it triggers OEM utilities, cloud sync apps, messaging tools, update checkers, and driver helpers. Over time, new apps add themselves to startup without asking, and services pile up in the background. The result: increased boot time, higher memory usage, and slower responsiveness on the desktop.
First Priority: Control Automatic Startup Apps
Windows 11 makes it easy to identify and disable unnecessary startup items:

- Using Settings
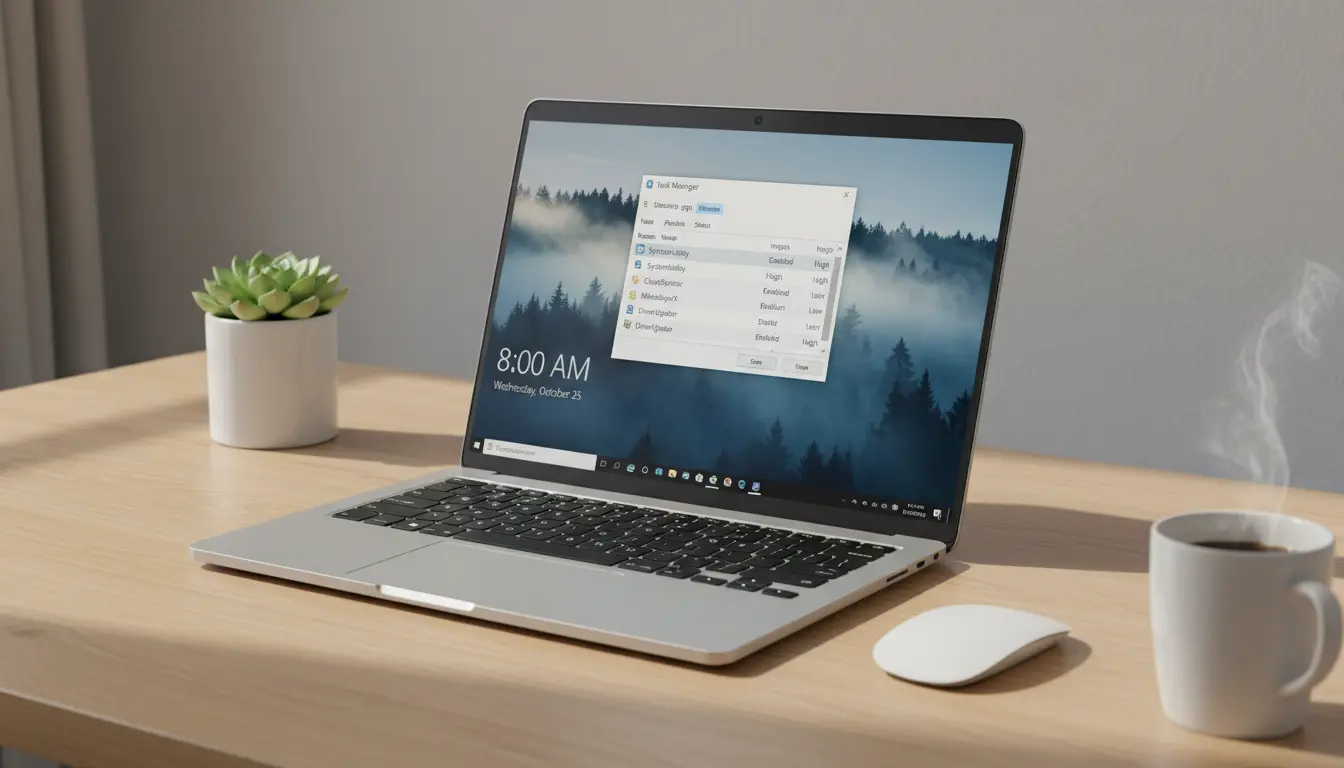
- Press Ctrl + Shift + Esc to open Task Manager, or go to Settings > Apps > Startup.
- Sort by “Startup impact” to see which apps have High impact.
- Toggle off apps you don’t need immediately after boot (e.g., Discord, Spotify, Teams, Adobe updaters, vendor tray tools).
- Reboot and test.
- Using Task Manager (classic view)
- Open Task Manager > Startup apps tab.
- Right-click high-impact items and select Disable.
- Keep security (antivirus), input methods, and critical drivers enabled.
- Check Startup Folders
- Press Win + R, type
shell:startupand press Enter. Remove shortcuts you don’t need. - Also check the All Users startup folder:
shell:common startup.
- Press Win + R, type
Tip: Disable, don’t uninstall—this lets you re-enable if needed. If an app reinstalls itself into startup, check its in-app settings for “Run at login” and turn it off.
Trim Background Services Safely
Be conservative when dealing with services. Focus on third‑party services, not Microsoft core components.
- Use System Configuration (msconfig):
- Press Win + R, type
msconfig, Enter. - On the Services tab, check “Hide all Microsoft services.”
- Review the remaining list (printer utilities, updaters, vendor launchers). Uncheck non-essential items.
- Apply, restart, and confirm stability.
- Press Win + R, type
- In-app Options:
- Many apps include “Start with Windows” settings. Turn these off to prevent re-enabling.
Delay or Stagger Startup (Smart Start)
If you actually need certain tools, consider delayed or on-demand startup:
- Task Scheduler Delay
- Open Task Scheduler > Create Task.
- Triggers: At log on. Actions: Start a program (choose your app).
- Settings: Delay task for 30–120 seconds to avoid competing with critical boot processes.
- This method improves perceived boot speed while still loading your tools shortly after login.
- Use Lightweight Alternatives
- Replace heavy updaters with manual checks, or switch to apps with lower startup impact.
Clean Up Boot Drivers and Startup Tasks
- Update Drivers
- Old drivers can slow boot. Update GPU, chipset, storage, and network drivers from OEM sites (NVIDIA/AMD/Intel, motherboard/laptop vendor).
- Remove Duplicate Updaters
- Some software (e.g., Java, Adobe, game launchers) install auto updaters that are redundant if you update manually. Turn them off within app settings.
Optimize Fast Startup and Power Settings
- Enable Fast Startup
- Control Panel > Power Options > Choose what the power buttons do > Change settings that are currently unavailable.
- Ensure “Turn on fast startup (recommended)” is checked.
- Note: Fast Startup blends shutdown/hibernation. If you dual-boot or frequently change BIOS settings, test for compatibility.
- Power Mode
- Settings > System > Power & battery > Power mode: set to Balanced or Best performance on desktops.
- On laptops, use Balanced to maintain battery life.
Free Up Boot-Time Disk and Memory Pressure
- Storage Sense and Disk Cleanup
- Settings > System > Storage > Storage Sense. Enable automatic cleanup of temp files and downloads you don’t need.
- Run Disk Cleanup to remove old Windows update files and temp caches.
- Uninstall Bloatware
- Settings > Apps > Installed apps: remove OEM bloat, trialware, duplicate utilities.
- Keep device support tools that provide drivers, but disable their auto-start UI.
- Manage OneDrive/Cloud Sync
- Cloud sync clients can spike disk and CPU at login. Consider pausing sync during startup or enabling “Files On-Demand” to reduce indexing and sync load.
Check Windows Search Indexing Scope
Indexing speeds up search but can slow first minutes after login if the scope is too large.
- Settings > Privacy & security > Searching Windows.
- Limit indexing to user folders you actually search.
- Exclude large developer folders, node_modules, or VM images.
BIOS/UEFI Boot Order and Firmware Updates
- Boot Order
- Enter BIOS/UEFI and ensure your OS drive is first. Remove network/PXE and USB devices from early positions.
- Firmware Update
- Updating motherboard and SSD firmware can improve initialization times and NVMe performance.
SSD Health and TRIM
- Ensure Your System Drive Is SSD
- If you’re still on HDD, switching to an SSD is the single biggest boot-time improvement.
- Optimize Drives
- Search “Defragment and Optimize Drives.” Confirm your SSD is being optimized (TRIM) weekly. Do not manually defrag SSDs.
Reduce Shell Extensions and Context Menu Clutter
- Third‑party context menu handlers can slow the first File Explorer load.
- Use a reputable tool like ShellExView to disable non‑Microsoft shell extensions one by one, testing stability.
Disable Animations (Optional, for Perceived Speed)
- Settings > Accessibility > Visual effects.
- Toggle off Animation effects and Transparency. This won’t change actual boot time but can make the system feel more responsive immediately after login.
Measure, Test, Iterate
- Boot Time Benchmarks
- Measure before/after with a stopwatch or boot-time utilities.
- Make one change at a time; keep a note of what you’ve disabled.
- Reliability Monitor
- Search “Reliability Monitor” to ensure no new errors appear after changes.
What Not to Disable
- Windows Security/Defender, essential drivers (audio, network, storage), input method editors, GPU control panels (for multi-monitor or special features), and OEM tools that control thermals/fans on laptops. If unsure, research the service/app name before disabling.
Quick Checklist
- Disable high-impact startup apps in Settings/Task Manager.
- Hide Microsoft services in msconfig; untick non-essential third-party services.
- Delay non-critical apps using Task Scheduler.
- Enable Fast Startup and adjust Power mode.
- Update GPU, chipset, storage drivers and SSD firmware.
- Tighten Search indexing scope.
- Optimize SSD (TRIM) and free disk space.
- Clean context menu and uninstall bloat.
Following these steps typically cuts Windows 11 startup time significantly while keeping your system stable and secure. Prioritize reversible changes first, test after each tweak, and maintain a lean set of startup apps for long-term performance.