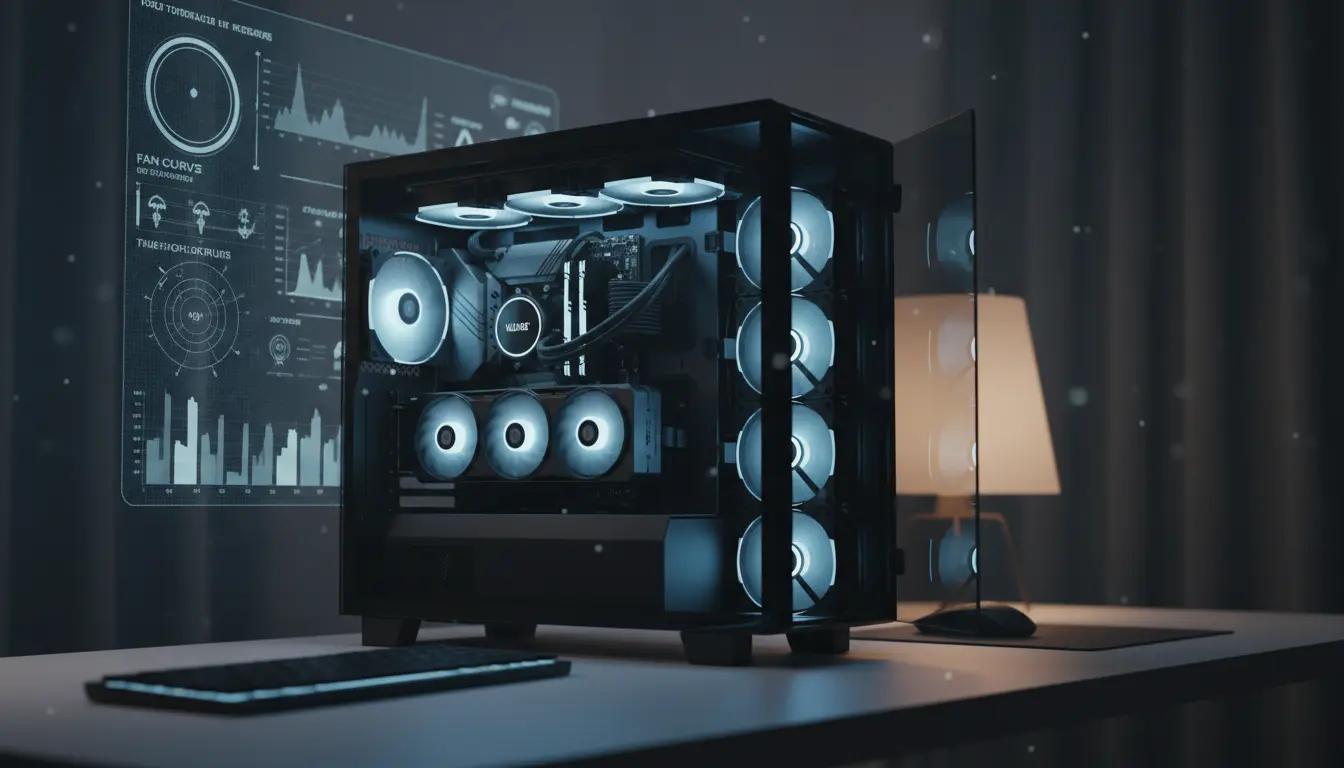

Fan Curve Adjustment: Balancing Silence and Temperature
Fine‑tuning your PC’s fan curve is one of the most effective ways to get a quiet system without sacrificing safe temperatures. Instead of letting your fans constantly ramp up and down or run at full speed, you can tell them exactly how fast to spin at specific temperatures. The result: less noise during light tasks and more cooling only when your hardware truly needs it.
In this guide, you’ll learn what a fan curve is, why it matters, and how to set it up step by step for a smart balance between silence and heat control.
What Is a Fan Curve?
A fan curve is a graph that links temperature (usually of CPU or GPU) on the X‑axis to fan speed (RPM or %) on the Y‑axis. Instead of a simple on/off behavior, the fan curve defines how aggressively your fans respond as components heat up.

Most fan curves follow these principles:
- At low temperatures, fans spin slowly to keep noise minimal.
- As temperatures rise, fan speed ramps up gradually.
- Near the maximum safe temperature, the curve becomes steeper, pushing fans close to 100% to prevent overheating.
Motherboards, GPUs, and even some fan controllers let you customize this curve. By tailoring it to your own case, ambient temperature, and workload, you can radically improve the noise–temperature balance.
Why the Right Fan Curve Matters
A default or poorly tuned fan curve often causes:
- Unnecessary noise: Fans ramp to high RPM for minor temperature spikes.
- Thermal throttling: Too gentle a curve lets the CPU or GPU overheat, forcing them to slow down to cool off.
- Inconsistent acoustics: Rapid, small RPM changes produce an annoying, fluctuating hum.
With a well‑crafted curve you:
- Keep idle and light workloads near‑silent.
- Maintain stable and safe temperatures under gaming or rendering.
- Avoid big jumps in fan speed that draw attention.
- Extend component lifespan by staying away from thermal limits.
BIOS vs Software: Where to Adjust the Fan Curve?
You can usually adjust your fan curve in two ways:
1. BIOS/UEFI Fan Control
Most modern motherboards include fan control pages:
- Located under names like “Q‑Fan Control”, “Smart Fan”, or “Hardware Monitor”.
- You select the fan header (CPU_FAN, CHA_FAN, etc.) and edit points on a temperature–speed graph.
Pros:
- Works at all times, even before the OS loads.
- No extra software needed.
- Stable and reliable.
Cons:
- Interface can be less intuitive.
- Limited profiles compared to some software tools.
2. Software Fan Control (Windows or Linux)
Examples include:
- Motherboard utilities (e.g., MSI Center, ASUS Armoury Crate, Gigabyte Control Center).
- GPU tools (e.g., MSI Afterburner, vendor‑specific apps).
Pros:
- Easier to visualize and fine‑tune.
- Often allow per‑profile settings (Gaming, Silent, Productivity).
- GPU‑specific fan curves for more precise control under load.
Cons:
- Requires the app to run in the background.
- Occasional software conflicts or bugs.
Many users rely on BIOS for case and CPU fans and use software for GPU fans. This hybrid approach keeps things stable while giving you flexible control for gaming and content creation.
How to Create a Balanced Fan Curve (Step by Step)
Follow this structured approach to build a quiet yet safe fan curve.
Step 1: Identify Your Temperature Targets
You need realistic, component‑safe temperature ranges:
- Modern desktop CPUs:
- Ideal under load: 70–85°C
- Absolute max (varies by model): often 95–100°C
- Modern GPUs:
- Ideal under load: 65–80°C
- Max safe: typically 84–90°C (check your specific card)
Your fan curve should hold sustained loads below your personal comfort limit (often ~80°C for CPU and GPU if possible).
Step 2: Set a Quiet Idle Baseline
At idle or very light tasks:
- Target CPU/GPU temps: 30–45°C, depending on ambient room temperature.
- Set fan speeds around 20–35% for case and CPU fans.
- For GPUs with zero‑RPM mode, allow the fans to stay off until around 45–50°C.
Listen carefully. If you can easily hear the fans at idle, lower their minimum speed or adjust which temperature sensor they follow (VRM vs CPU, etc.).
Step 3: Define a Gentle Mid‑Range Ramp
For moderate loads (web browsing with many tabs, light gaming, streaming, productivity):
- Temperature range: 50–70°C.
- Gradually raise fan speed from ~35% up to 60–70%.
- Avoid steep jumps (for example, from 30% to 70% in 5°C), as these make the fan noise more noticeable.
A smooth and linear increase keeps acoustics consistent and prevents the “whoosh–quiet–whoosh” pattern.
Step 4: Add a Protective High‑Temp Slope
For demanding workloads (AAA gaming, rendering, encoding):
- Above 70–75°C, make the curve steeper.
- Aim for 80–90% fan speed around 80–85°C.
- Reserve 100% fan speed as an emergency level near your component’s upper safe temperature.
You may rarely hit 100%, but it offers a safety net if the room gets hotter or dust restricts airflow over time.
Step 5: Test and Refine
- Stress test your system:
- Use a CPU stress tool (e.g., Cinebench or Prime95).
- Run a GPU load (e.g., a modern game, 3DMark, or a GPU benchmark).
- Monitor temperatures and fan RPM using tools like HWInfo, GPU‑Z, or vendor software.
- Ask yourself:
- Are sustained temps within your comfort zone?
- Is noise level acceptable during gaming?
- Do you notice sudden spikes in fan noise?
Adjust 2–3 points on the curve at a time and re‑test. Small changes work better than massive, one‑time edits.
Different Fan Curves for Different Use Cases
If your motherboard or software supports profiles, use them strategically:
Silent / Productivity Profile
- Keep fans very low until ~55–60°C.
- Allow somewhat higher temps (e.g., CPU up to 85°C briefly) during bursts.
- Ideal for office work, browsing, coding, and media consumption.
Gaming / Performance Profile
- Start ramping fans earlier (45–50°C).
- Keep temps firmly under 80°C for CPU and GPU when possible.
- Accept slightly more noise for better frame rates and less thermal throttling.
Overnight / Low‑Noise Profile
- Lower maximum speeds slightly and prioritize flat, predictable acoustics.
- Good for long downloads, light background tasks, or watching movies at night.
Switching profiles based on activity gives you quiet when you want it and cooling when you need it.
Common Fan Curve Mistakes to Avoid
- Too aggressive at low temps
Running fans high at 40–50°C adds noise but doesn’t significantly improve longevity or performance. - Too conservative at high temps
Letting CPUs or GPUs regularly sit at or near their thermal limits can cause throttling and potential long‑term stress. - Ignoring case airflow
Even the best curve can’t fix poor airflow. Make sure you have a balance of intake and exhaust fans, clear cable management, and dust filters. - Using the wrong sensor
Some users accidentally tie a case fan to a sensor that doesn’t reflect their main heat source (for example, motherboard chipset instead of CPU). Always double‑check what temperature your fan header follows. - Not revisiting curves over time
Seasons change, dust builds up, and your workloads evolve. Re‑check your fan curves every few months and after any major hardware changes.
Hardware Upgrades That Make Quiet Curves Easier
A good fan curve can only do so much. Consider these upgrades if you still struggle with noise or high temperatures:
- High‑quality PWM fans with fluid‑dynamic or SSO bearings reduce noise at a given airflow.
- Better CPU coolers (tower or AIO liquid coolers) can significantly lower CPU temps, allowing quieter fan profiles.
- Optimized cases with front mesh panels improve intake airflow and reduce the need for very high fan RPM.
- Thermal paste refresh on older systems can restore lost thermal performance.
When your cooling hardware is efficient, you can keep a flatter, quieter fan curve, because components simply run cooler at lower RPM.
Amazon Product Recommendation
For a reliable, quiet, and airflow‑optimized upgrade that works well with custom fan curves, consider the:
Noctua NF‑A12x25 PWM 120mm Fan (available on Amazon.com)
This fan is known for:
- Excellent static pressure and airflow at low RPM.
- Very quiet operation even under load.
- Smooth PWM control that responds precisely to your fan curve.
Adding two or three of these fans to your case or radiator often allows you to lower your entire fan curve while maintaining or even improving temperatures.