
iPhone Photo Editing Workflows with LUTs and Presets
If you’ve ever scrolled through Instagram and wondered how some creators keep a consistent look across all their photos, the answer is often a smart workflow using LUTs and presets. On iPhone, modern photo apps make it surprisingly easy to adopt professional-grade color management and one-tap styling that scales from casual snapshots to client work. This guide explains what LUTs and presets are, how they differ, how to build an efficient iPhone workflow for both, and how to maintain color consistency across devices. You’ll also find practical tips to keep your edits natural, non-destructive, and fast—without sacrificing quality.
What are LUTs and how do they work on iPhone?
A LUT (Look-Up Table) is a mathematical map that transforms color values from one set to another. Think of it as a precise color recipe that re-maps luminance and chroma to produce a signature look—film emulations, teal-and-orange cinema tones, or carefully tuned brand palettes. On iPhone, LUTs are most commonly used in video apps (like LumaFusion, DaVinci Resolve for iPad that complements iPhone workflows, and mobile versions of professional suites) but are increasingly supported in photo editors that allow LUT import.
- Technical note: Common LUT formats include .cube and .3dl. Many iPhone-compatible apps accept .cube files.
- Best for: Exact colorimetry, film-stock emulation, cross-app consistency, brand looks, and matching cameras.
What are presets and how do they differ from LUTs?
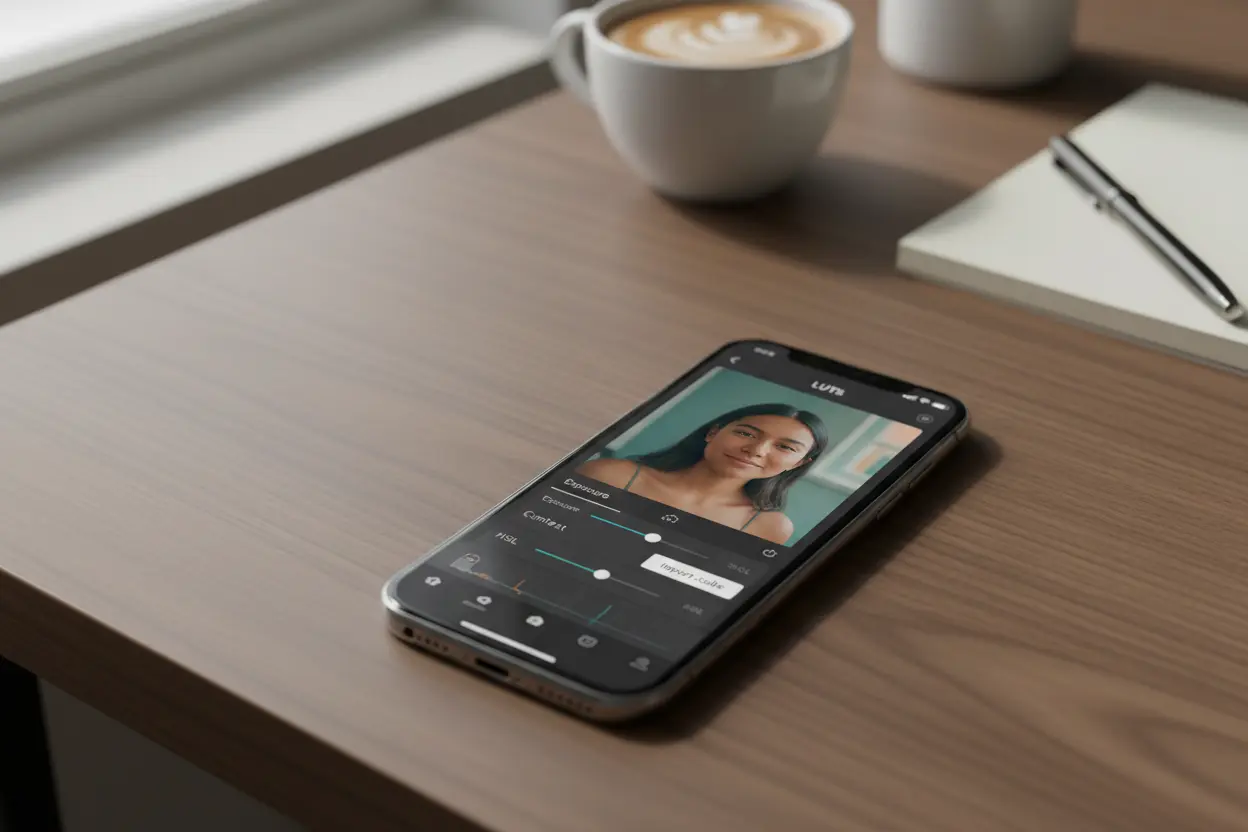
Presets are collections of editable adjustment parameters—exposure, contrast, white balance, HSL, tone curves, clarity, noise reduction, sharpening, and more. Unlike LUTs, presets are not fixed remaps; they’re sets of sliders you can tweak after applying them. Most iPhone photo editing apps support presets (e.g., Lightroom Mobile, VSCO, Darkroom, Photomator), making them ideal for rapid, iterative workflows.
- Best for: Speed, flexibility, non-destructive editing, and fine-tuning per photo.
In short: LUTs are precise and transferable across platforms; presets are flexible and highly editable within a specific app ecosystem.
Choosing the right workflow on iPhone
Your ideal workflow depends on your goals:
- Brand consistency across photo and video: Start with LUTs to establish a baseline look. Complement with presets for per-image micro-adjustments.
- Fast social media output: Use a preset-first workflow to keep edits quick. Save variations for different lighting scenarios.
- Color-critical projects: Use LUTs for color accuracy, then apply targeted local edits (masks, selective color) via presets or manual adjustments.
Step-by-step: LUT workflow on iPhone (photo-focused)
- Source your LUTs:
- Use reputable LUT packs designed for sRGB/Rec.709 if your output is mobile/web.
- Ensure the LUTs are not exposure-specific; neutral versions give more flexibility.
- Import LUTs into your app:
- Apps like Darkroom and some pro editors allow LUT import (.cube). Follow in-app instructions to add LUTs to your library.
- Apply LUT at the right stage:
- For RAW or ProRAW images, perform base corrections first: white balance, exposure, highlight recovery, and noise reduction.
- Then apply the LUT with adjustable intensity (opacity) to avoid clipping or oversaturation.
- Fine-tune locally:
- Use selective adjustments to fix skin tones, lift shadows, or control specular highlights.
- Preserve natural textures with careful sharpening and texture sliders.
- Save as a reusable recipe:
- Some apps let you save a LUT + adjustment combo as a custom preset for faster future edits.
- Export settings:
- For social: JPEG or HEIF at high quality, sRGB color space.
- For print: Export as high-quality JPEG or TIFF if supported; ensure correct color profile.
Step-by-step: Preset workflow on iPhone
- Build base presets for common lighting:
- Daylight: Neutral white balance, gentle contrast curve, soft highlight roll-off.
- Golden hour: Slight warmth, lifted shadows, restrained saturation to keep skin natural.
- Low light: Noise reduction tuned for iPhone sensor, gentle dehaze, cautious sharpening.
- Calibrate skin tones:
- Create HSL adjustments for reds/oranges to preserve natural skin; avoid over-saturation.
- Use a subtle S-curve to add depth without crushing shadows.
- Create variants per scene:
- Save small deviations (e.g., +0.2 exposure, -5 saturation) as separate presets for fast batch edits.
- Apply and tweak:
- Presets get you 80% there. Use local masks to refine sky, subject, or background separation.
- Sync/Batch:
- In apps that support it, copy settings to multiple photos for consistent output.
RAW, HEIF, and JPEG considerations
- RAW/ProRAW: Maximum latitude for highlight recovery and color grading. Ideal before LUT application.
- HEIF: Better compression than JPEG with good quality; suitable for iOS ecosystem sharing.
- JPEG: Ubiquitous, reliable for social. Keep an eye on banding if pushing colors heavily.
Tip: If your workflow includes aggressive color transformations via LUTs, starting from RAW/ProRAW on iPhone (where available) preserves quality.
Color management and consistency tips
- Work in sRGB for social delivery; it’s the default on most mobile screens.
- Avoid double transformations: If a LUT expects a log profile, don’t apply it to an already contrasty image unless it’s designed for that.
- Maintain a test album:
- Include different skin tones, fabrics, skies, and foliage for quick A/B checks when updating looks.
Keeping the look organic and natural
- Limit global saturation, prefer targeted HSL adjustments.
- Protect highlights: Lower highlight slider before adding contrast; use soft roll-off curves.
- Texture realism: Use modest clarity and texture; rely on local dodge/burn masks for depth.
- Avoid uniform orange-teal: Add subtle secondary color harmonies (split toning/Color Balance) that suit your brand without looking generic.
Speed tricks for mobile editing
- Create “micro-presets”: Tiny one-purpose presets like “+Warm WB,” “-Highlights 10,” “Skin Tone Guard.” Stack them quickly for precise control.
- Use masking templates: Reusable subject/sky masks where your app supports it.
- Gesture shortcuts: Learn long-press toggles to compare before/after swiftly.
When to use LUTs vs. presets
- Use LUTs when:
- You need exact film emulation or camera-matching.
- You want unified looks across photo and video projects.
- Use presets when:
- You need fast, per-image control and iterative refinement.
- You want a non-destructive, slider-based workflow.
Most creators benefit from a hybrid approach: apply a LUT for the signature color science, then finish with preset-style slider adjustments for each image’s nuance.
Quality control checklist before exporting
- Skin tones look natural under different lighting.
- No clipped highlights or blocked shadows unless stylistically intended.
- Sharpening halos and color banding minimized.
- Consistent white balance across a set.
- Export color space set to sRGB for web/social.
Common pitfalls to avoid
- Over-reliance on one look across all scenes: Light changes; your look should adapt.
- Applying log-intended LUTs to standard images: Leads to muddy contrast and colors.
- Excessive denoise or clarity: Can plasticize skin and destroy texture.
Building your reusable style library
- Keep a small, curated set of LUTs and presets you genuinely use.
- Version your looks: v1, v2 with notes on tweaks (warmer mids, softer contrast).
- Back up your LUTs/presets to cloud storage to sync across devices.
Final thoughts
On iPhone, professional-grade color is no longer reserved for desktops. With LUTs for precise, repeatable looks and presets for agile, non-destructive fine-tuning, you can build an efficient, organic workflow that scales. Focus on skin tone fidelity, gentle contrast, and color harmony. Over time, your library of LUTs and presets will become an extension of your visual identity, helping you deliver consistent, high-quality images fast.