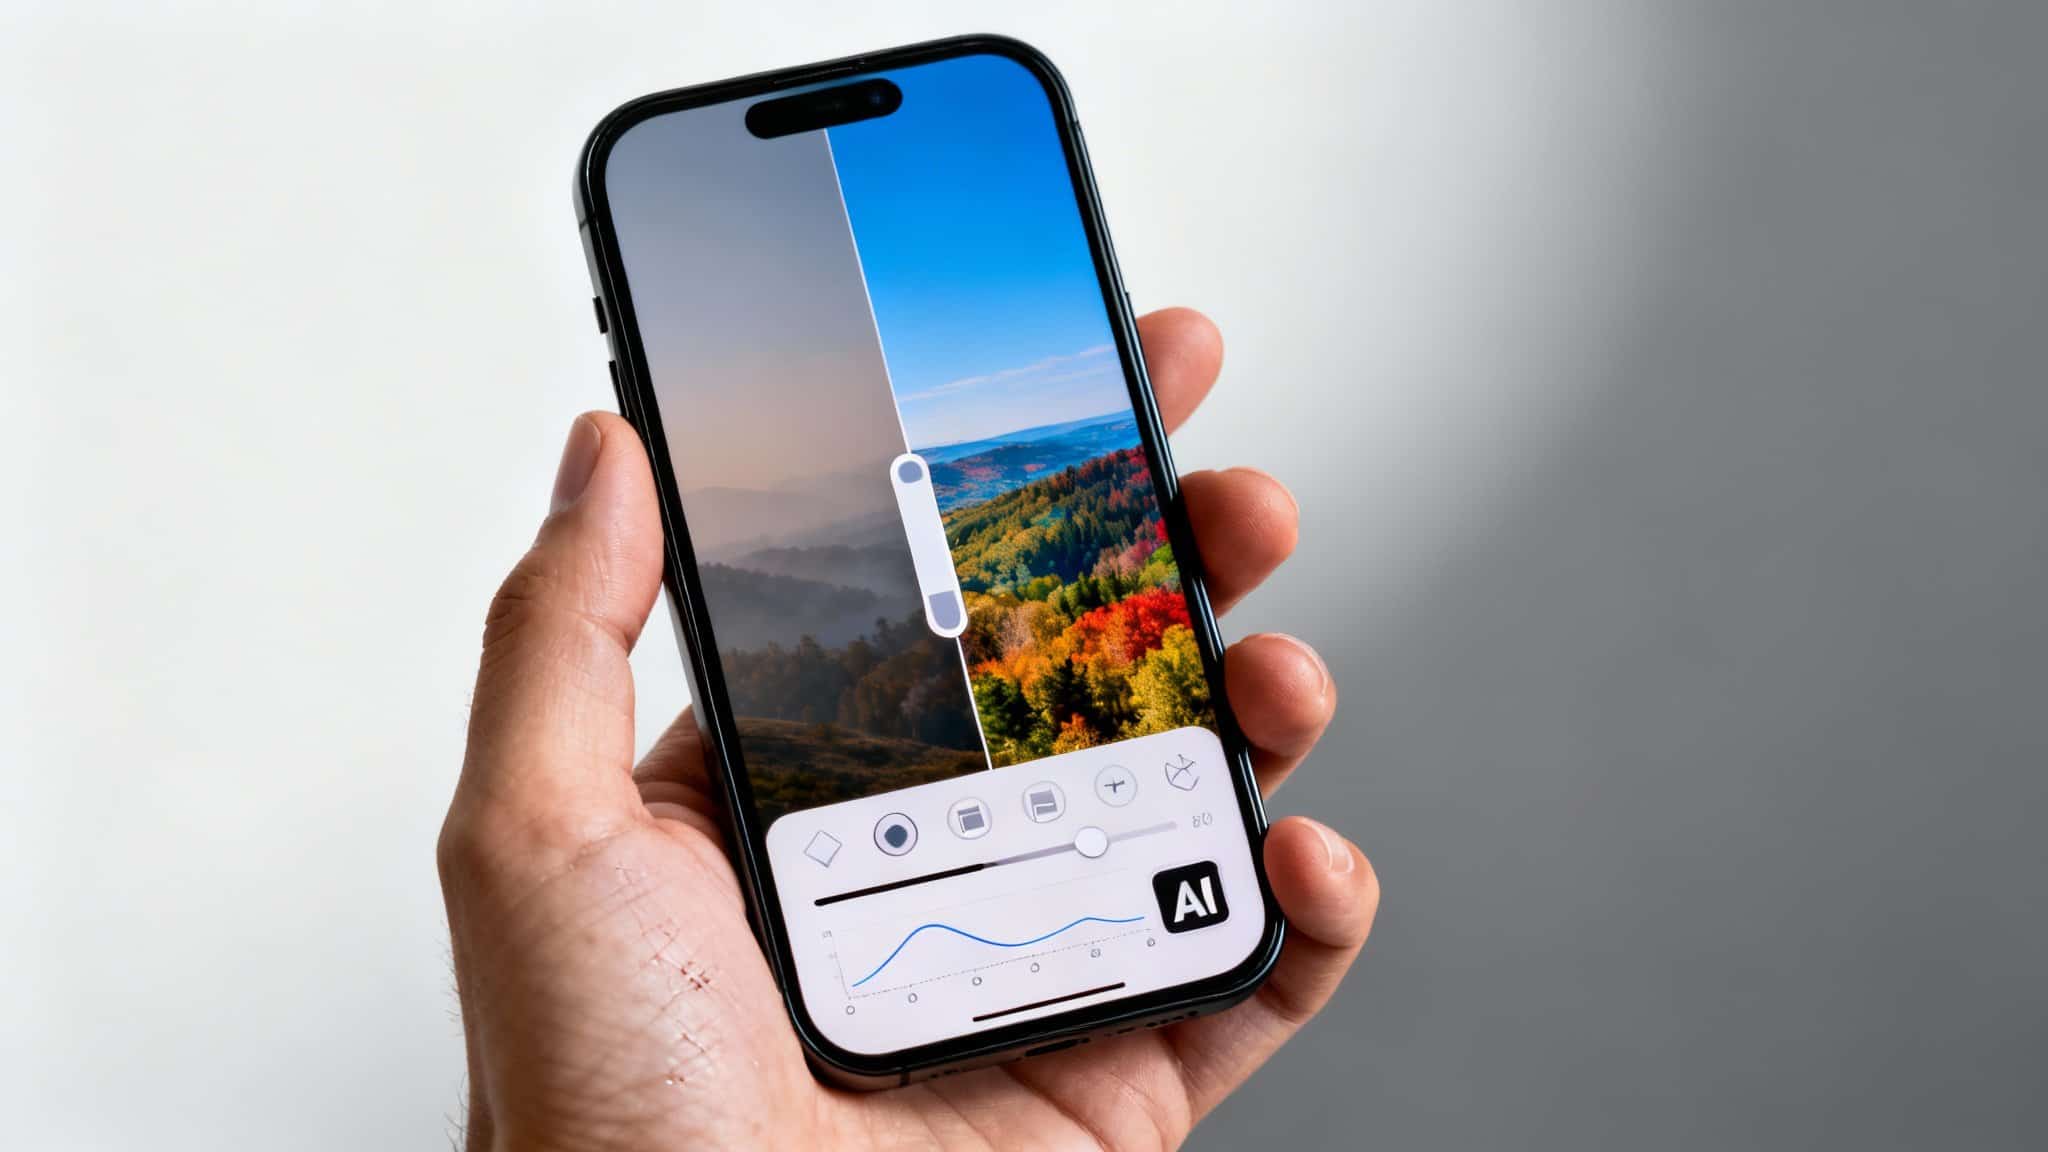

If you want to transform photos on the go without sacrificing quality, Lightroom Mobile is one of the most powerful tools you can carry in your pocket. Built by Adobe and powered by the same processing engine as the desktop version, Lightroom Mobile brings professional-grade editing to smartphones and tablets. In this guide, you’ll learn a fast, repeatable workflow for quick edits, how to leverage presets and profiles, the best ways to use selective tools, and how to export sharp images for social media—all while keeping your results consistent and your editing time minimal. Our focus keyword is “Lightroom Mobile fast editing.”
Why Lightroom Mobile for fast editing?
Lightroom Mobile combines non-destructive editing, synced presets, cloud backups, camera RAW support (on many devices), and AI-powered masking. That means you can shoot, edit, and publish without switching devices. For speed, the app’s UI is optimized for thumb-friendly sliders, one-tap presets, and batch copying settings.
A 10-minute Lightroom Mobile fast editing workflow
Use this quick workflow to get consistent, high-quality results in minutes:

- Import and cull quickly
- Use the built-in camera or import from your gallery.
- Favorite your keepers and hide rejects to reduce clutter.
- If you shoot RAW (DNG), keep those for maximum flexibility.
- Start with a profile, then a preset
- Profiles set the overall rendering without moving sliders—choose Adobe Color for general pop, Adobe Landscape for scenic images, or a camera-matching profile if available.
- Apply a preset that matches your style or the scene’s lighting. This gives you 70–80% of the look instantly. Save your own presets from finished edits for consistency.
- Exposure trio: exposure, contrast, whites/blacks
- Exposure: Adjust overall brightness to place your subject correctly.
- Contrast: Add punch, but avoid crushing shadows.
- Whites/Blacks: Hold two fingers on the image to reveal clipping indicators; set whites to just kiss clipping, blacks slightly below zero for depth.
- Color: white balance and vibrance first
- White Balance: Use Auto as a starting point, then fine-tune Temp/Tint.
- Vibrance: Increase for natural color boost; use Saturation more sparingly to avoid oversaturation.
- Presence: clarity, texture, dehaze
- Texture: Enhances fine detail on hair, foliage, fabrics—great for crispness without halos.
- Clarity: Midtone contrast; go light for portraits, higher for street or product.
- Dehaze: Recover atmospheric contrast; keep it moderate to avoid color shifts.
Other
- Tone Curve for polish
- Add a subtle S-curve for dynamic contrast.
- Lift the black point slightly for a matte look, or keep it anchored for punchy contrast.
- Selective edits with AI masks
- Subject Mask: Brighten your subject slightly and add a touch of clarity or texture.
- Sky Mask: Lower highlights, cool the temperature, add subtle dehaze to reclaim details.
- Background Mask: Add a small negative clarity or noise reduction to make subjects pop.
- Linear/Radial Gradients: Guide the viewer’s eye; soften edges and add depth with gentle exposure tweaks.
- Detail and noise reduction
- Sharpening: Use Masking (press and hold the slider to preview) to sharpen edges without accentuating noise.
- Noise Reduction: Apply just enough to smooth shadows; avoid plastic skin by balancing Texture and NR.
- Optics and geometry
- Enable Remove Chromatic Aberration and Lens Correction to counter lens distortions.
- Use Upright or Geometry sliders to fix leaning buildings and align horizons.
- Export settings for social media
- Size: 2048–3000px on the long edge is usually sufficient.
- Sharpening: Screen sharpening set to Standard is a safe default.
- Format: JPEG for universal use; HEIC for Apple ecosystems; keep 80–90% quality for good balance.
- Watermark: Optional for branding; keep it subtle and consistent.
Speed boosters for Lightroom Mobile
- Create scene-based presets: daylight portrait, golden hour, moody street, indoor tungsten, flat RAW starter.
- Copy and paste settings across similar images to batch-edit quickly.
- Use Shortcuts: long-press sliders to reset; double-tap values to type exact numbers.
- Customize the toolbar to keep your most-used panels handy.
- Sync across devices: start on your phone, refine on tablet or desktop if needed.
Color grading for fast mood setting
Lightroom Mobile’s Color Grading panel lets you target shadows, midtones, and highlights separately:
- Warm highlights + cool shadows = cinematic contrast.
- Slight split tone with low saturation (5–15) adds mood without looking processed.
- Balance slider controls which range dominates—great for evening scenes or moody interiors.
Portraits vs. landscapes: quick tweaks
- Portraits: Lower clarity slightly on skin, add texture to hair and eyes via Selective Brush. Keep saturation natural and preserve skin tones with careful white balance.
- Landscapes: Boost clarity and texture for detail, use Dehaze sparingly, and apply a sky mask to balance bright horizons.
Maintaining consistency with a style system
- Build a preset pack around your visual identity: clean, filmic, high-contrast, pastel, or monochrome.
- Name presets clearly (e.g., “Clean Daylight v2 – Warm Face”).
- Keep a neutral baseline preset to fix flat RAWs quickly.
Common mistakes to avoid
- Over-saturation: Vibrance first, check skin tones and foliage.
- Heavy dehaze: Can shift colors and introduce halos; pair with white balance adjustments.
- Over-sharpening: Creates artifacts; use Masking to protect smooth areas.
- Ignoring noise: High ISO shots need gentle noise reduction before aggressive texture/clarity.
Efficient organization and backup
- Use albums and flags to keep projects tidy.
- Enable cloud sync for automatic backup and cross-device access.
- Add keywords and titles for quick retrieval if you manage large libraries.
When to shoot with the built-in Lightroom camera
- Use Pro/RAW mode to capture DNG for more editing latitude.
- Lock exposure and manually set white balance for consistent batches.
- Utilize HDR capture in high-contrast scenes to reduce highlight clipping.
Final export checklist
- Profile/preset applied and refined
- Exposure and white balance balanced
- Selective masks for subject and sky as needed
- Detail, optics, and geometry done
- Social-ready export size, format, and sharpening set
- Optional watermark for brand consistency
By following this streamlined approach, “Lightroom Mobile fast editing” becomes a repeatable habit: import, preset, refine, mask, export. The more you standardize your steps, the faster and more consistent your edits will be—without compromising on quality.