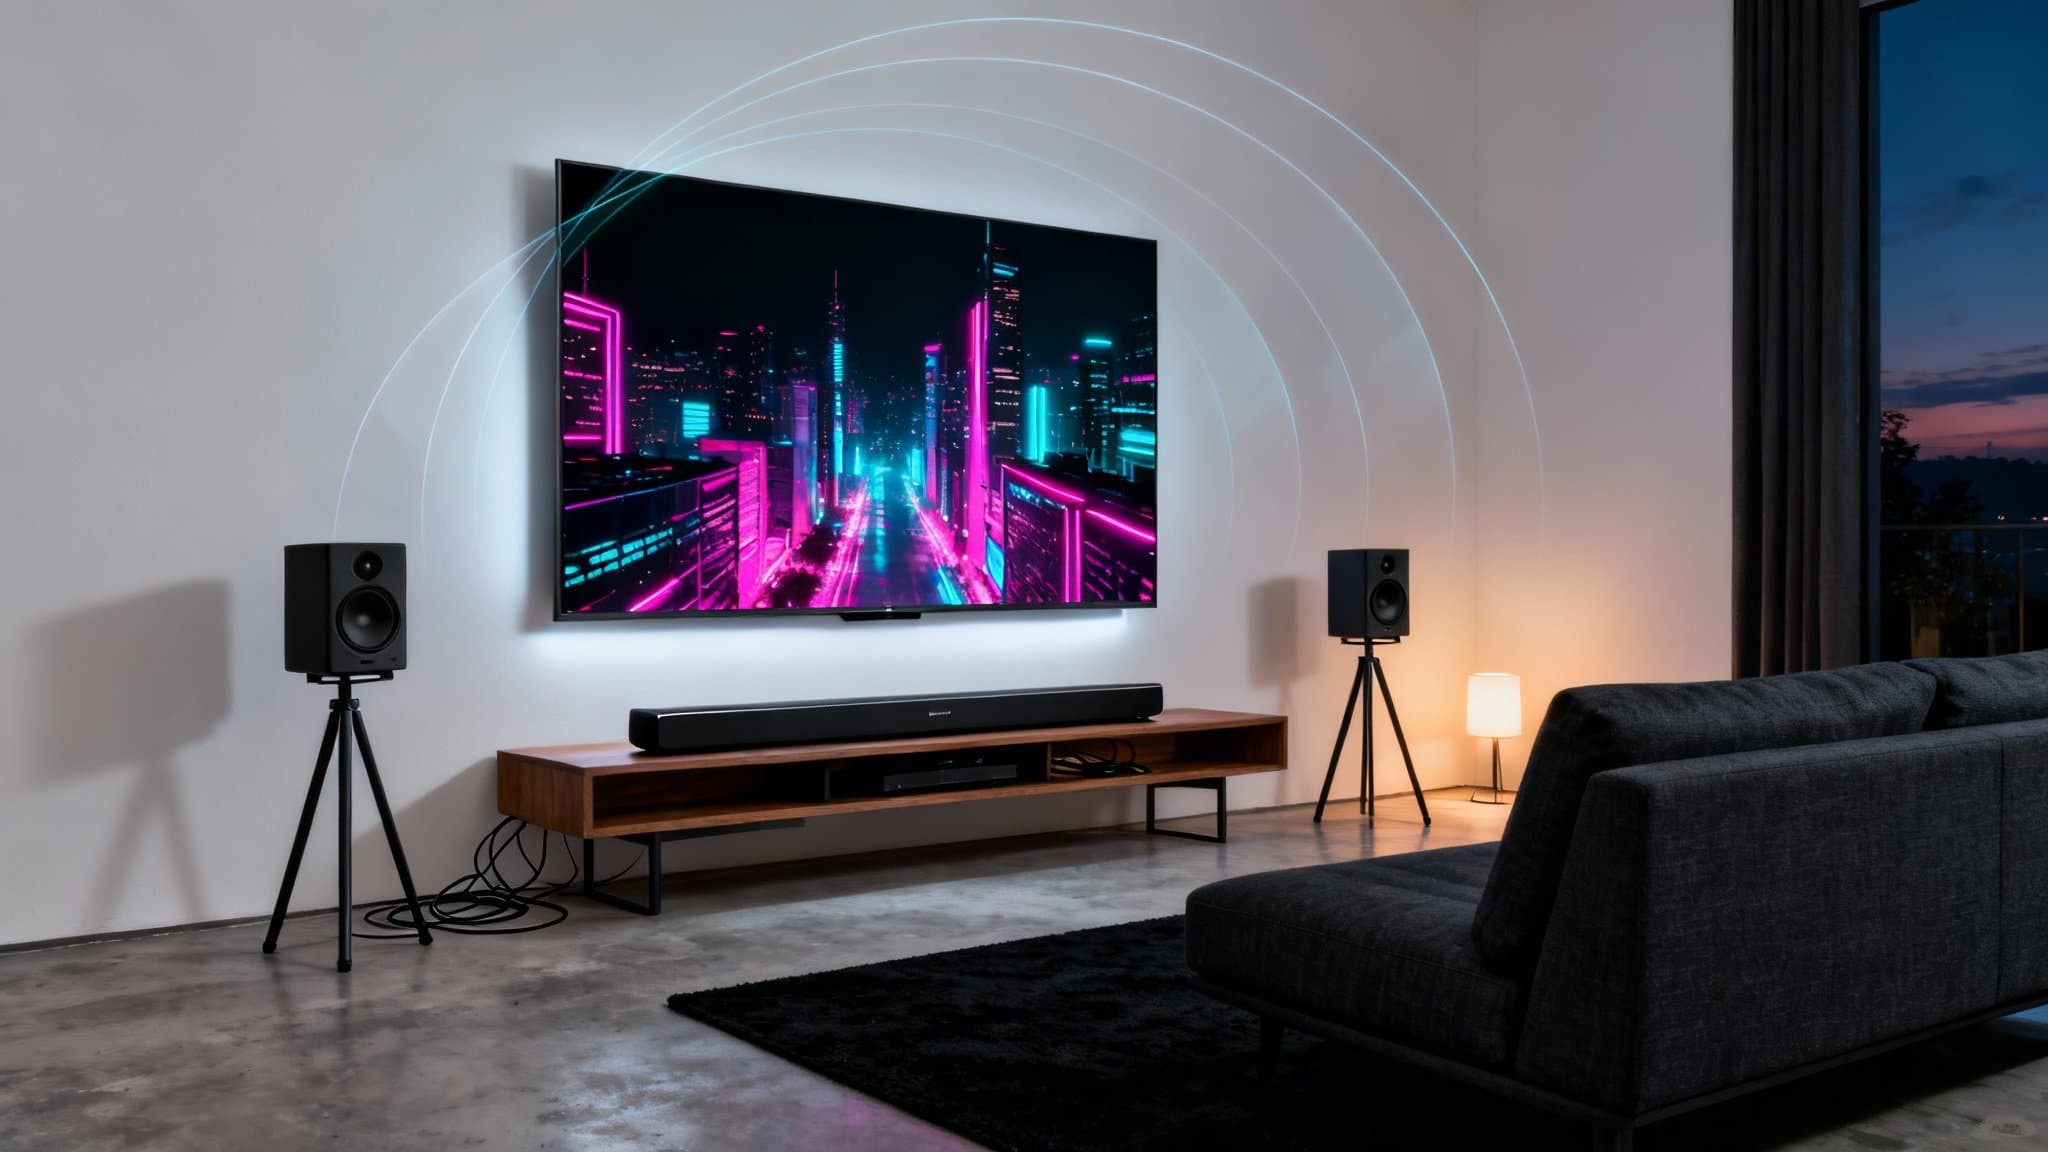

Dolby Vision and Dolby Atmos are two premium audiovisual technologies designed to dramatically elevate the way you watch and listen. Together, they transform your TV, movie, gaming, and streaming experience into something closer to a high-end cinema: richer colors and contrast, plus immersive, three-dimensional sound. This guide explains what each technology does, why they matter, what you need to use them, and step-by-step instructions for enabling Dolby Vision and Dolby Atmos on TVs, streaming devices, game consoles, and apps.
What is Dolby Vision?
Dolby Vision is an advanced form of HDR (High Dynamic Range). Unlike standard HDR10, which uses static metadata (one set of brightness/contrast instructions for the entire video), Dolby Vision uses dynamic metadata. That means it can optimize brightness, contrast, and color scene-by-scene—or even frame-by-frame—based on the creator’s intent and your display’s capabilities.
- Wider color gamut: More lifelike, saturated colors without banding.
- Higher peak brightness: Specular highlights (sun glints, explosions) pop without washing out shadows.
- Deeper blacks: Better shadow detail for dark scenes and nighttime shots.
- Creator intent preserved: Dynamic tone mapping tailors the image to your screen, preserving detail and nuance.
In practical terms, Dolby Vision makes content look more cinematic. Faces show natural skin tones, neon signs glow realistically, and complex scenes keep detail in both bright and dark areas simultaneously.

What is Dolby Atmos?
Dolby Atmos is an object-based audio format. Instead of mixing sound strictly into channels (like 5.1 or 7.1), Atmos treats sounds as objects that can move around and above you in a 3D space. This allows height effects and pinpoint placement—like a helicopter flying overhead or rain falling from the ceiling.
- Height channels: Adds vertical dimension for a dome of sound.
- Precise positioning: Sound objects can move seamlessly around you.
- Scalable: Works on soundbars, headphones, TV speakers, AVRs, and full home theaters.
With Atmos, even a compact soundbar can deliver impressive spatial immersion, while a dedicated AVR with ceiling speakers can rival cinema sound.
Requirements for Dolby Vision and Dolby Atmos
Before enabling these features, make sure your gear and content support them:
- Display: A TV, projector, or monitor that supports Dolby Vision. Some devices support HDR10+ instead; check your model’s specs.
- Source device: Streaming stick/box (Apple TV 4K, Amazon Fire TV Stick 4K/Max, Roku models with DV), game console (Xbox Series X|S supports Dolby Vision for media and gaming in some titles; PS5 supports HDR10 for video and supports Dolby Atmos for certain apps via bitstream), or a Blu-ray player that supports Dolby Vision.
- Cable: For 4K Dolby Vision and Atmos, use a Premium High Speed HDMI cable (18 Gbps) or Ultra High Speed HDMI (48 Gbps) for 4K120 and VRR.
- Audio: A soundbar, AVR, or headphones that support Dolby Atmos. For eARC TVs, use the TV’s eARC port to pass lossless Dolby TrueHD Atmos from external sources; ARC supports Dolby Digital Plus Atmos from streaming apps.
- Content: Streaming services like Netflix, Disney+, Apple TV+, Prime Video, Max, and Vudu offer titles in Dolby Vision and Dolby Atmos. UHD Blu-rays often include Dolby Vision and Atmos. Some games support Atmos and HDR/Dolby Vision.
- Internet speed: For 4K streaming with Dolby Vision/Atmos, aim for at least 25 Mbps per stream.
Note: Dolby Vision profiles differ by device (Profile 5 for streaming, Profile 7 on UHD Blu-ray). Most modern TVs handle this automatically.
How to Enable Dolby Vision
The steps vary slightly by platform, but here’s a quick rundown:
- On your TV:
- Enable HDMI Ultra Deep Color or HDMI Enhanced Format on the HDMI port connected to your source (Settings > Picture > HDMI settings). This allows 4K HDR and Dolby Vision.
- Set Picture Mode to a Dolby Vision mode (e.g., Dolby Vision Bright, Dolby Vision Dark) when DV content is detected.
- Turn off conflicting processing (e.g., Dynamic Contrast) if it affects tone mapping.
- Apple TV 4K:
- Settings > Video and Audio > Format > choose Dolby Vision (4K Dolby Vision).
- Enable Match Content: Match Dynamic Range and Match Frame Rate. This ensures the Apple TV switches to Dolby Vision only when the content is DV, preserving accuracy.
- Use an HDMI port that supports 4K HDR/DV on your TV/AVR.
- Amazon Fire TV Stick 4K/Max:
- Settings > Display & Audio > Display > Dynamic Range Settings > set to Adaptive.
- Ensure Resolution is set to Auto (up to 4K Ultra HD).
- Use compatible HDMI port and cable.
- Roku (models with Dolby Vision):
- Settings > Display type > Auto detect.
- Confirm it reports “4K Dolby Vision TV.”
- Xbox Series X|S:
- Settings > General > TV & display options > 4K TV details: verify Dolby Vision support.
- Settings > General > TV & display options > Video modes > check “Dolby Vision for Gaming” (if supported) and “Allow 4K,” “Allow HDR10.” Note: Dolby Vision for games availability varies by title and display.
- UHD Blu-ray player:
- Enable Dolby Vision in the player settings if it’s not automatic.
- Use HDMI Enhanced on the TV input.
If Dolby Vision doesn’t trigger:
- Verify the title is actually in Dolby Vision.
- Confirm the TV input is set to Enhanced/Ultra Deep Color.
- Replace the HDMI cable with a certified Premium/Ultra High Speed version.
- Bypass intermediate devices that may not support DV (e.g., older AVRs). Try direct to the TV, then eARC audio out to your AVR/soundbar.
How to Enable Dolby Atmos
Atmos can be delivered as Dolby Digital Plus (streaming) or Dolby TrueHD (UHD Blu-ray). Here’s how to turn it on:
- On your TV:
- Settings > Sound > Enable eARC (if available).
- Digital Audio Output/Format: Set to Auto, Pass-Through, or Bitstream.
- If using a soundbar/AVR, connect it to the TV’s eARC/ARC HDMI port.
- Apple TV 4K:
- Settings > Video and Audio > Audio Format > Dolby Atmos: On.
- For receivers/soundbars, choose Audio Mode: Auto; for headphones supporting Atmos (via spatial audio), it will engage when available.
- Amazon Fire TV Stick 4K/Max:
- Settings > Display & Audio > Audio > Surround Sound > Best Available.
- Ensure your app’s audio settings are set to English [Original] with Atmos when multiple tracks exist.
- Roku:
- Settings > Audio > Audio mode: Auto (or Dolby Atmos, if shown).
- HDMI: Auto detect.
- Xbox Series X|S:
- Settings > General > Volume & audio output > Speaker audio: Bitstream out.
- Bitstream format: Dolby Atmos for home theater (requires Dolby Access app installation and configuration).
- For headphones: Choose Dolby Atmos for headphones in the Dolby Access app (paid license may be required).
- PlayStation 5:
- Settings > Sound > Audio Output > HDMI Device Type: AV Amplifier (if using AVR).
- Audio Format (Priority): Bitstream (Dolby) where supported. Note that PS5 supports Atmos output for Blu-ray playback and select apps/games via updates; HDR is HDR10, not Dolby Vision.
- UHD Blu-ray players:
- Set Digital Audio Output to Bitstream.
- Disable Secondary Audio/Mix if it downmixes Atmos.
- Route HDMI to eARC/ARC or directly to AVR.
If Atmos doesn’t show:
- Confirm the title is labeled “Dolby Atmos.”
- Use eARC for lossless TrueHD Atmos. ARC is fine for DD+ Atmos from streaming.
- Set audio output to bitstream or pass-through.
- Update firmware on TV, AVR, soundbar, and source device.
Best Practices for Picture and Sound
- Picture modes: Use Dolby Vision Dark in a dim home theater; Dolby Vision Bright for brighter living rooms. Avoid excessive motion smoothing for films (enable it for sports if you prefer).
- Calibration: If available, enable TV-led Dolby Vision over Player-led (or vice versa) to see which looks better; support varies by brand. Consider professional calibration for the most accurate results.
- Speaker setup: For Atmos, up-firing modules work, but in-ceiling speakers yield the most accurate height effects. Run your AVR’s room correction (Audyssey, Dirac, YPAO) and ensure proper crossover settings.
- Streaming quality: In your streaming app, choose the highest quality plan and make sure playback resolution is set to Auto/Best Available.
Troubleshooting Checklist
- No Dolby Vision badge on playback:
- The app or title may only support HDR10.
- The HDMI port isn’t set to Enhanced.
- Cable bandwidth is insufficient.
- An intermediate device (switch/AVR) doesn’t support DV.
- No Dolby Atmos indicator:
- App audio track not selected (some default to 5.1).
- TV set to PCM instead of Bitstream/Pass-Through.
- ARC port used for TrueHD Atmos (needs eARC).
- Soundbar/AVR firmware is outdated.
- Washed-out or too dark:
- Turn off “Dynamic Contrast” or double tone-mapping features.
- Match frame rate/dynamic range on Apple TV to avoid forced conversions.
- Check TV’s Dolby Vision IQ setting if available; it adjusts with ambient light.
Why Upgrade to Dolby Vision and Dolby Atmos?
- Future-ready: Increasingly common across streaming platforms and UHD Blu-rays.
- Creator-approved: Preserves the artistic intent with dynamic tone mapping and true 3D sound.
- Noticeable upgrade: Even casual viewers notice better detail, depth, and immersion.
Enabling Dolby Vision and Dolby Atmos is mostly about compatibility and correct settings. Once configured, they work automatically whenever compatible content plays.