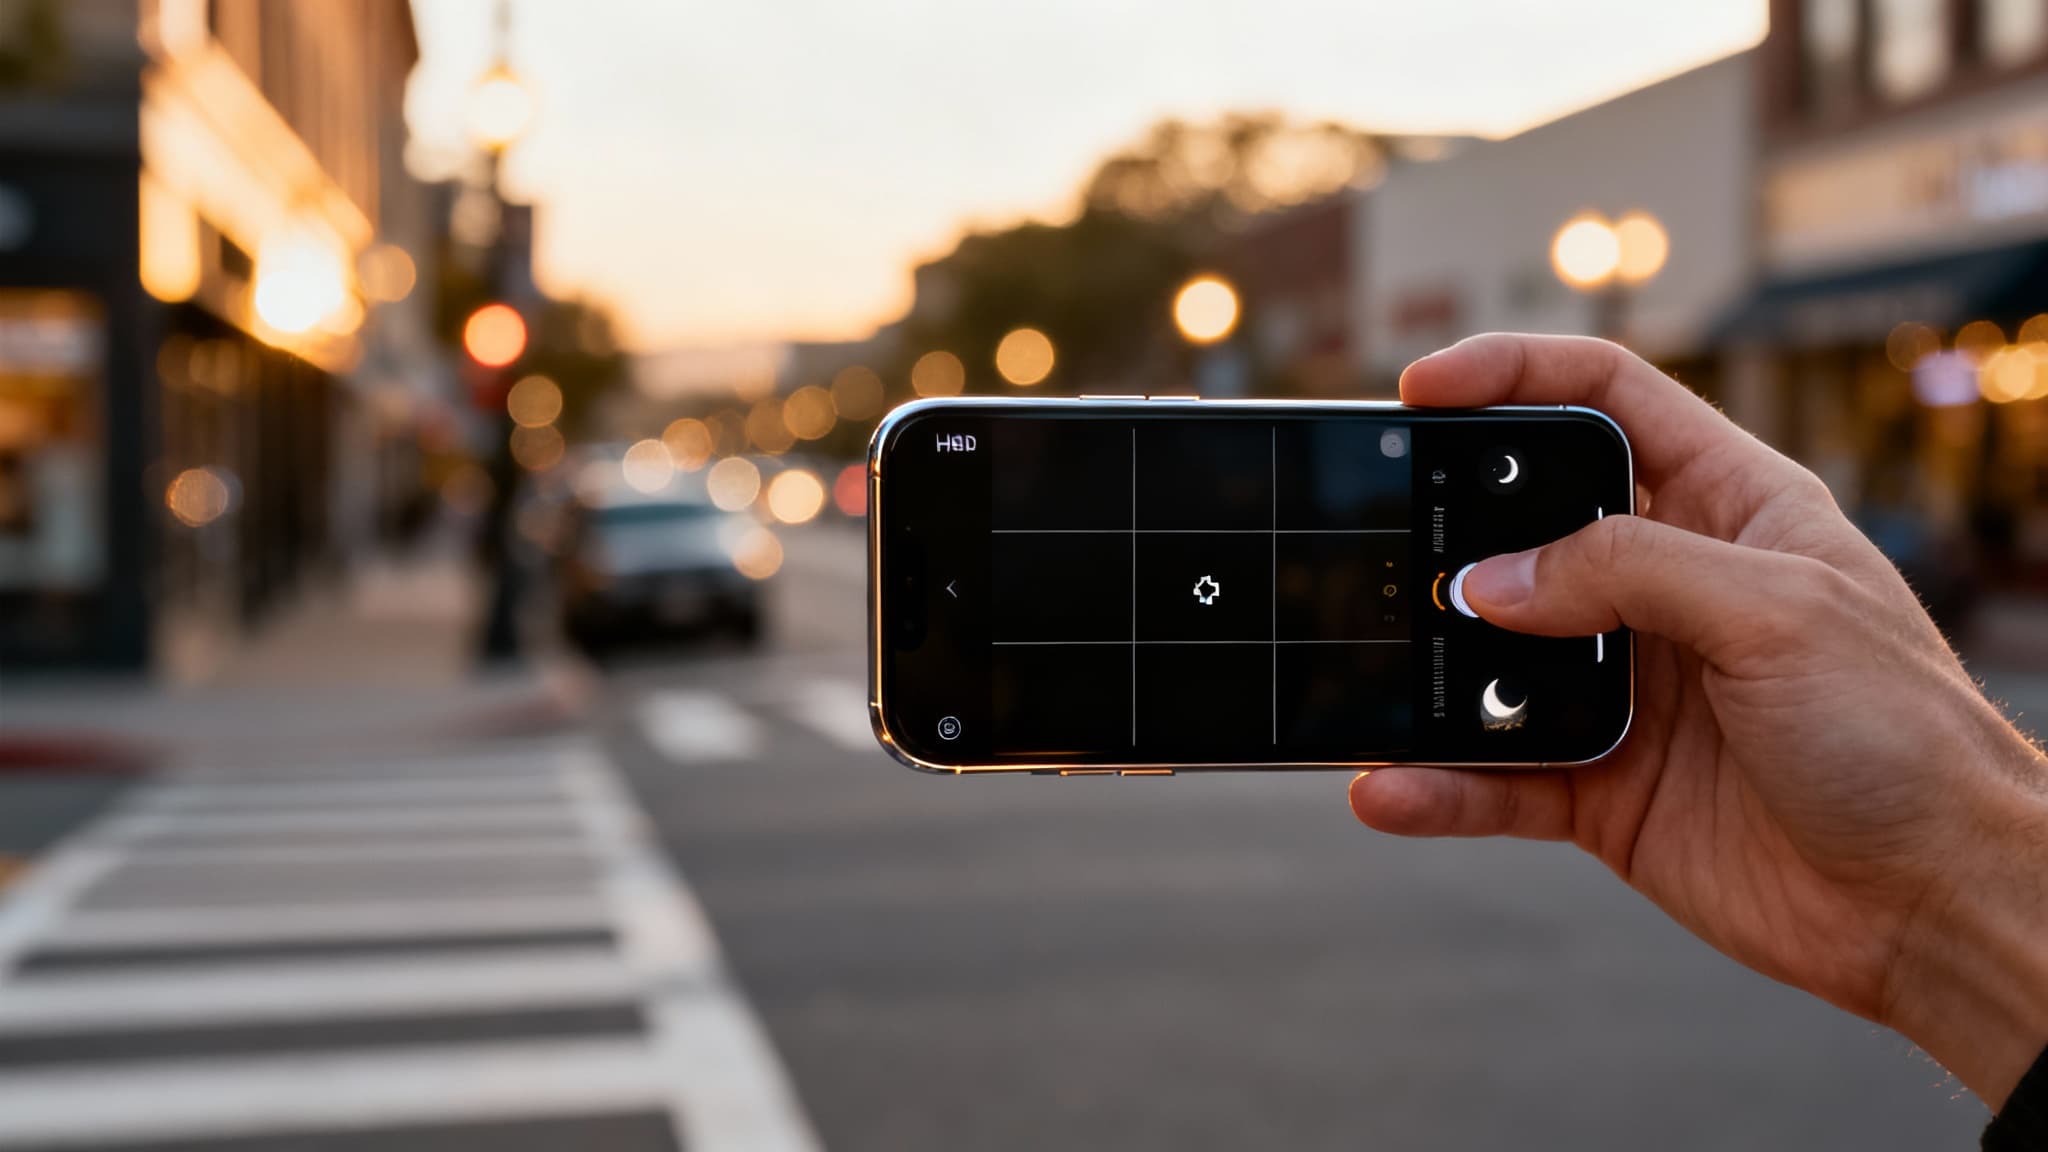

The iPhone has revolutionized mobile photography. What started as a simple, pocket-sized camera has now evolved into a powerhouse packed with professional-level features. Yet, most users never explore the full potential of their iPhone’s camera settings. Instead, they rely on automatic modes and hope for the best. But here’s the truth: a few tweaks in your iPhone camera settings can make the difference between an average snapshot and a photo that looks like it came straight out of a professional studio.
If you run a business, share content on social platforms, or simply love photography, learning how to use iPhone camera settings effectively will elevate your visuals. In this article, we’ll dive deep into practical tips, settings adjustments, and professional tricks that will help you capture stunning, crisp, and scroll-stopping photos using just your iPhone.
1. Why iPhone Camera Settings Matter
Many think professional photography requires expensive DSLR cameras. While high-end equipment has its place, the truth is your iPhone’s camera is more powerful than you realize. Apple’s software and hardware synergy offers tools like manual exposure adjustments, RAW photography, Smart HDR, Deep Fusion, and ProRAW.
By mastering these features, you can:
- Sharpen details and textures
- Optimize lighting conditions
- Control exposure and focus like a professional
- Produce high-resolution images suitable for print and digital platforms
That’s why learning the settings isn’t just about aesthetics—it’s an investment in creating content that stands out in a crowded digital market.
2. Adjusting Focus and Exposure Manually
One of the most underutilized features is manual adjustment. By tapping on your subject within the camera app, you set both focus and exposure. But here’s the secret: hold your finger down until you see AE/AF Lock (Auto Exposure/Auto Focus). This prevents the iPhone from readjusting focus or light, which is crucial for capturing consistency in challenging light.
Pro Tip: Always lower exposure slightly when shooting outdoors. Slight underexposure prevents blown-out highlights and gives you richer shadows.
3. Shoot in RAW and ProRAW for Maximum Detail
RAW photography allows you to capture all the uncompressed data your sensor records. Unlike JPEG or HEIC, RAW images retain detail in highlights and shadows, giving you more flexibility when editing.
iPhone Pro models include Apple ProRAW, combining computational photography with RAW benefits. Turn it on in Settings → Camera → Formats → Apple ProRAW. Use ProRAW when:
- Shooting landscapes with varying light
- Capturing portraits where fine skin detail matters
- Editing later with apps like Lightroom or Photoshop
Yes, RAW files are larger, but if you want professional-grade results, it’s worth the memory space.
4. Master Night Mode for Stunning Low-Light Shots
Night mode on iPhone automatically activates in dark environments. But instead of just letting the iPhone decide, manually adjust the shutter timer by tapping the Night Mode icon. Set it longer (up to 10 seconds) if your phone is stable on a tripod or surface. The longer exposure allows more light in, producing photos that look impossibly bright without flash.
Pro Tip: Always stabilize your phone when using Night Mode—handheld shots may introduce blur at longer exposures.
5. Optimize HDR and Deep Fusion
Modern iPhones use Smart HDR and Deep Fusion to balance highlights and shadows. HDR works best when photographing bright skies with darker landscapes underneath. Deep Fusion, on the other hand, enhances textures and micro-details, perfect for capturing product photography, food textures, or fabrics. To maximize results:
- Keep HDR enabled for outdoor settings
- Use Deep Fusion in medium light for sharper indoor shots
Think of HDR as your wide balance tool and Deep Fusion as your micro-detail enhancer.
6. Use Portrait Mode Like a Pro
Portrait Mode mimics DSLR-style shallow depth of field. But instead of just point-and-shoot, dive into the f-stop adjustment slider (the “f” icon). Lower f-numbers (e.g., f/1.4) create a dreamy blurred background, while higher numbers keep more of the scene sharp. Experiment based on your subject:
- Food photography works better with subtle blur (around f/3.5–f/5.6).
- Portraits shine with stronger separation (around f/1.8–f/2.5).
Also, switch between different Lighting Modes (Studio Light, Contour Light, Stage Light) to add creative flair.
7. The Importance of Gridlines and Composition
Enable gridlines under Settings → Camera. The rule of thirds is fundamental in photography: place subjects along the grid lines or intersections for more balanced and visually appealing photos.
Bonus Composition Tricks:
- Leading lines (roads, fences, hallways) add depth.
- Negative space gives minimalistic elegance.
- Symmetry creates captivating balance.
With practice, your iPhone photos will begin to look thoughtfully crafted instead of random snapshots.
8. Leverage Burst Mode for Action Shots
Capturing motion is tricky, but Burst Mode makes it easier. Hold down the shutter button (or drag it to the left in iOS 15+), and your iPhone will shoot rapid frames per second. Later, you can pick the sharpest, most perfect shot.
This trick is a must-have for sports photography, kids running around, or pets in action.
9. Proper Use of Flash and Alternative Lighting
Overusing flash leads to unnatural images. Instead, embrace natural lighting whenever possible. If you need light:
- Use flash as a fill light (not the main source).
- Consider external LED light panels for mobile setups.
- Experiment with reflective surfaces (white walls, aluminum sheets) to bounce light and soften shadows.
Lighting dramatically transforms your image quality—arguably more than any camera setting.
10. Editing Your Photos Like a Professional
Taking the picture is half the journey; editing is where magic happens. With iPhone’s built-in editor or third-party apps like Lightroom, Snapseed, or VSCO, you can:
- Adjust exposure and contrast
- Enhance colors naturally
- Sharpen details without overdoing it
- Crop for better composition
The key is subtlety—your goal is to enhance reality, not distort it.
11. Accessories That Elevate Your iPhone Photography
Consider investing in small tools that drastically improve results:
- Tripod or gimbal: essential for stability in Night Mode or HDR.
- Clip-on lenses: bring wide-angle, macro, and telephoto versatility.
- Remote shutter: avoid camera shake when shooting long exposure.
These accessories are inexpensive relative to DSLR gear but add enormous value to your shooting setup.
Final Thoughts
Your iPhone isn’t “just” a phone camera—it’s a professional tool if you know how to use it. By tweaking settings like exposure, HDR, Night Mode, and ProRAW, you can unlock a world of creativity. Combine that knowledge with composition, lighting, and editing skills, and your iPhone photos will rival those taken with expensive cameras.
Whether you’re capturing everyday memories, running a business, or building a social media brand, mastering iPhone camera settings ensures your visuals leave a lasting impression. Photography is both art and science—but with the right knowledge, your iPhone makes it easy to achieve both.