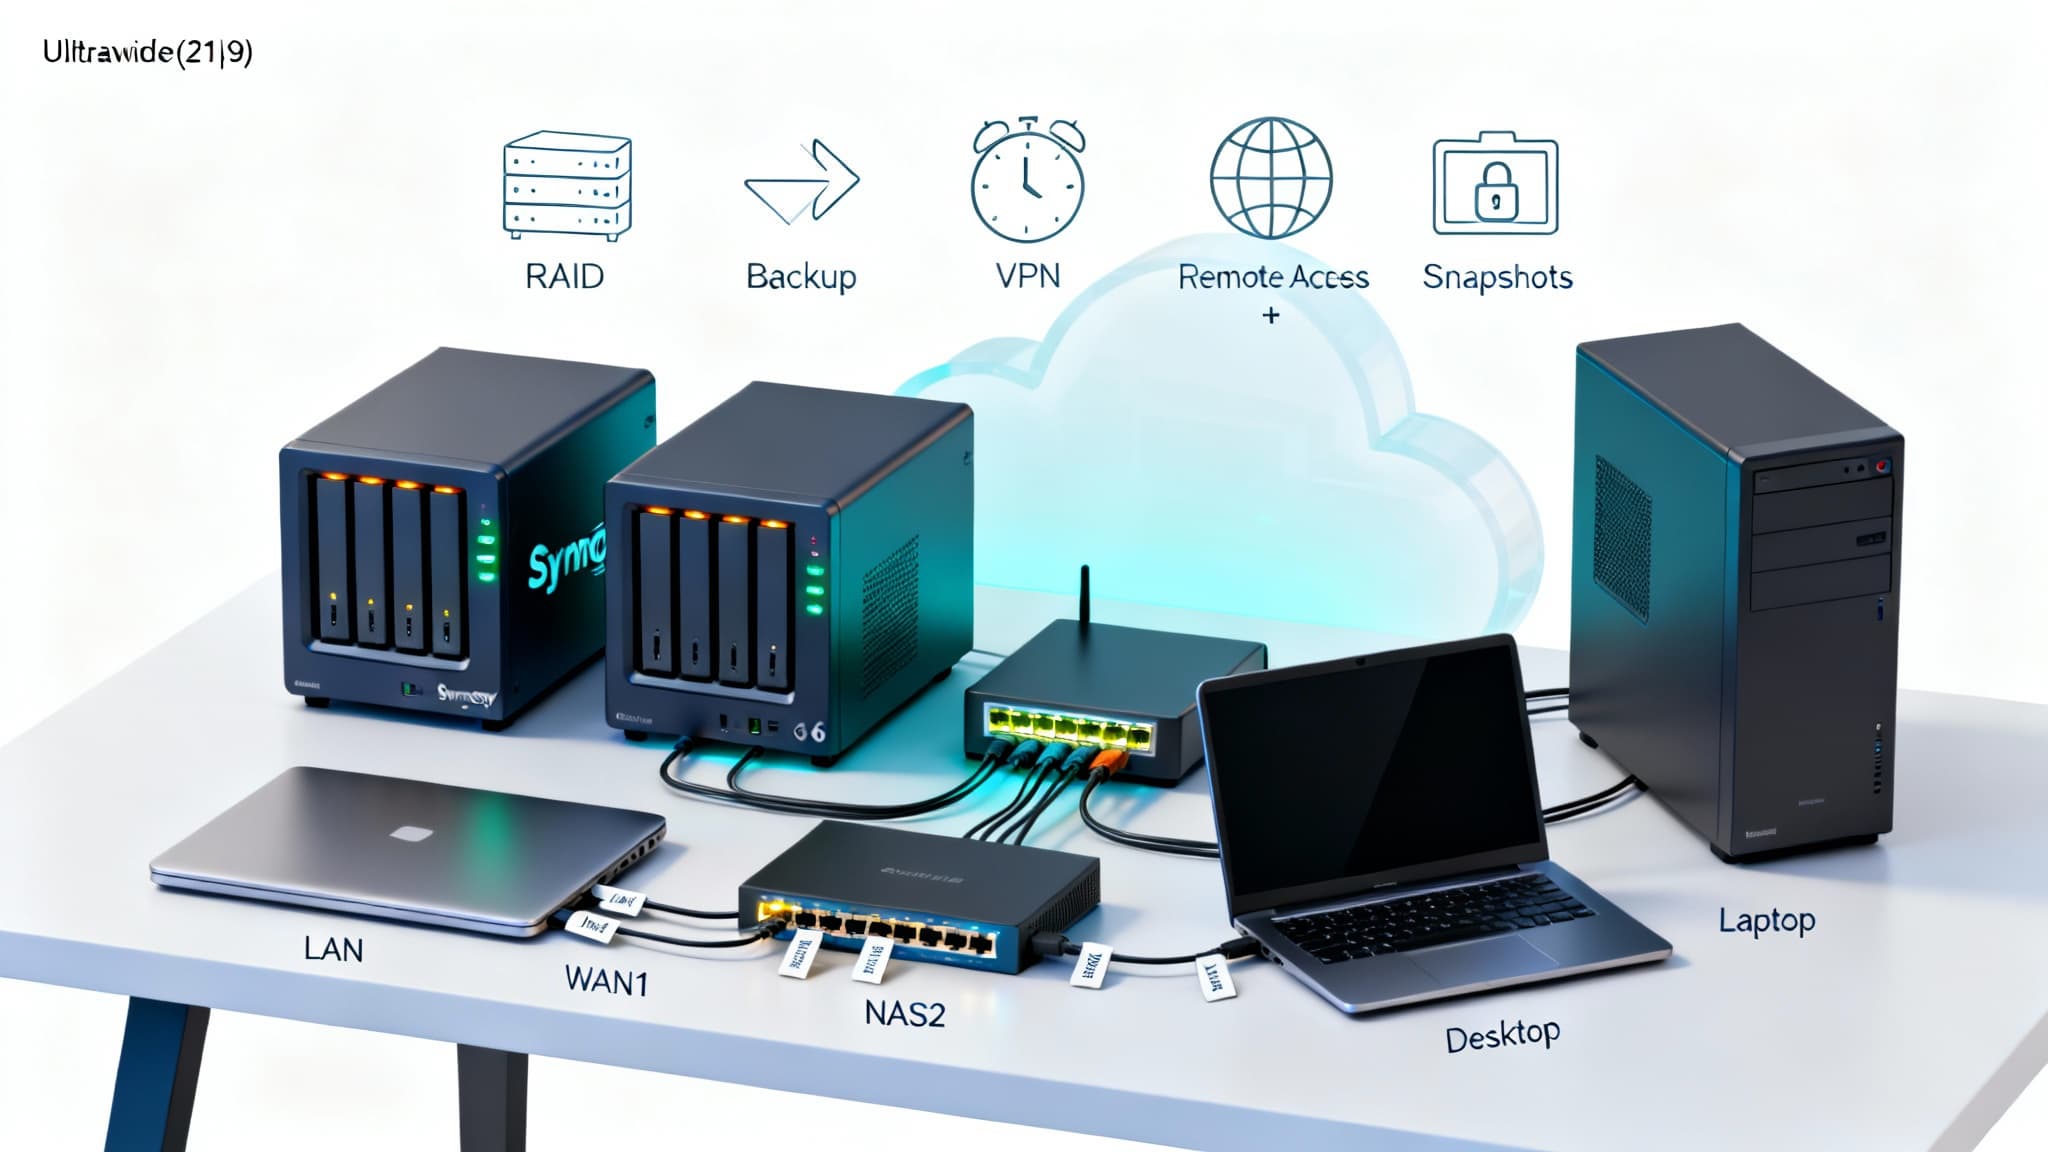

If you’re ready to centralize your files, safeguard your data, and access everything from anywhere, a Network Attached Storage (NAS) is one of the smartest upgrades you can make. Synology and QNAP are the leading NAS brands, each offering powerful hardware, polished software, and a rich app ecosystem. This beginner-friendly guide walks you through choosing the right NAS, setting it up securely, creating your first storage pool, enabling remote access, and optimizing for performance—tailored for U.S.-based home users, creators, and small businesses.
What is a NAS and why use one?
A NAS is a dedicated file server that lives on your local network. Unlike a single external hard drive, it:
- Centralizes files for multiple users and devices
- Provides RAID options for drive failure protection
- Enables remote access and private cloud sync
- Runs apps (backups, media streaming, surveillance, virtualization)
- Scales with your storage needs
Synology and QNAP both offer robust options. Synology is known for DSM (DiskStation Manager) with an intuitive interface and strong backup tools. QNAP shines with QTS/QuTS Hero, advanced virtualization, and rich multimedia capabilities. Both support SMB, NFS, AFP, iSCSI, Docker/containers, and snapshots on many models.

Step 1: Choose the right NAS model and drives
- Drive bays:
- 2-bay for entry-level home use (RAID 1 redundancy)
- 4-bay and above for better performance, capacity, and RAID flexibility
- CPU and RAM:
- Celeron-class for general use, Plex transcoding, light containers
- Intel/AMD higher-end or ARM with hardware acceleration for virtualization and heavier workloads
- Network:
- At least 1 GbE; consider 2.5GbE/10GbE for faster LAN or link aggregation
- Memory upgradability and NVMe slots for caching
Drives:
- Use NAS-rated HDDs (e.g., WD Red Plus, Seagate IronWolf). For performance tiers, add SATA or NVMe SSDs for cache or all-flash pools (model dependent).
- Capacity planning: Aim for 3–5 years of headroom. Use a RAID calculator to estimate effective capacity.
Tip for U.S. buyers: Check power compatibility and warranty terms from authorized retailers and ensure the model supports your preferred apps (Surveillance Station licenses, Plex, Docker).
Step 2: Physical setup and first boot
- Install drives: Slide trays out, mount HDDs/SSDs, secure with included screws or tool-less brackets.
- Network: Connect NAS to your router/switch via Ethernet. For best results, use wired connections for initial setup.
- Power on and discover:
- Synology: Use find.synology.com or Synology Assistant.
- QNAP: Use Qfinder Pro.
- Initialize the NAS and install the latest DSM (Synology) or QTS/QuTS Hero (QNAP).
Security essentials during setup:
- Change the default admin account; create an admin-equivalent user with a strong unique password.
- Enable 2FA for admin accounts.
- Update firmware/OS immediately and schedule automatic updates.
- Disable unused default services and ports.
Step 3: Create your storage pool and volumes
- RAID selection:
- Synology Hybrid RAID (SHR) or QNAP RAID group simplifies mixed drive sizes while keeping redundancy.
- Traditional RAID 1/5/6/10 for predictable performance and compatibility.
- Filesystem:
- Synology: Btrfs on supported models for snapshots, data integrity checks, and fast file restoration.
- QNAP: ext4 or ZFS-based QuTS Hero (ZFS adds checksums, snapshots, compression, dedup on capable hardware).
- Volumes and shares:
- Create a volume atop the storage pool, then shared folders for Documents, Media, Backups, Projects.
- Enable data checksums/integrity features where available.
Performance tip:
- Add NVMe SSD cache to accelerate read/write on HDD arrays, especially for small random I/O and multi-user workloads.
Step 4: Users, permissions, and access protocols
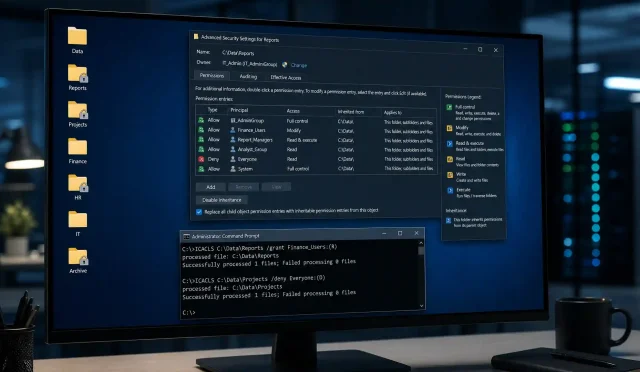
- Create user groups (e.g., Family, Editors, Accounting) and assign least-privilege permissions to shared folders.
- Enable SMB for Windows and macOS (modern macOS uses SMB by default). Optionally enable NFS for Linux or AFP for legacy Macs.
- Map network drives on PCs and mount shares on Macs for seamless access.
- Use Recycle Bin per share to protect against accidental deletions.
Step 5: Backups and disaster recovery
A NAS is not a backup until it’s copied elsewhere. Follow the 3-2-1 rule:
- 3 copies of data, 2 different media, 1 off-site.
Synology options:
- Hyper Backup to external USB, another NAS, rsync, or cloud (Synology C2, Backblaze B2, AWS S3, Wasabi).
- Snapshot Replication for fast point-in-time recovery (Btrfs).
QNAP options:
- Hybrid Backup Sync (HBS 3) for multi-destination backups and versioning to local, remote, or cloud targets.
- Snapshot capabilities (especially strong on ZFS/QuTS Hero models).
Ransomware and versioning:
- Schedule frequent snapshots and keep multiple versions.
- Use immutable backups (object lock on S3-compatible storage) when possible.
Step 6: Remote access and private cloud
Avoid exposing admin interfaces directly to the internet when possible. Safer options:
- Synology QuickConnect or QNAP myQNAPcloud with strict security settings.
- VPN access (OpenVPN/WireGuard) through your router or the NAS.
- Reverse proxy with valid TLS certificates (Let’s Encrypt) and strong ACLs.
Mobile and sync:
- Synology Drive/Photos and QNAP Qsync/QuMagie enable device sync, camera roll backup, and collaboration.
- Configure client apps for Windows/macOS/iOS/Android to keep critical folders synchronized.
7: Apps, media, and extra services
- Media servers: Plex, Emby, or Jellyfin for streaming; ensure your NAS CPU supports transcoding if needed.
- Collaboration: Synology Office/Drive, QNAP’s Notes Station and built-in editors for teams.
- Surveillance: Both platforms offer surveillance apps; factor in camera licenses and storage needs.
- Containers/VMs: Use Docker/Container Manager or Virtualization Station (QNAP) / Virtual Machine Manager (Synology) for labs and services.
8: Security hardening checklist
- Change default ports for web UI or better, restrict via firewall rules.
- Enable NAS firewall and geoblocking if available; only allow trusted IPs.
- Turn on auto-block for brute-force attempts and account lockout policies.
- Use TLS certificates; disable old SMB/NFS versions and weak ciphers.
- Regularly review admin logs and enable alert notifications (email/SMS/push).
- Keep apps and packages updated; uninstall what you don’t use.
Step 9: Maintenance and monitoring
- SMART tests and bad sector scans on drives; set alerts for temperature and drive health.
- Scrubbing/scrubbing schedule (Btrfs/ZFS) to detect bit rot.
- UPS integration to avoid data loss during power outages.
- Capacity planning: enable quotas and alerts; expand pools by adding larger drives as needed.
- Benchmarking: test SMB throughput and latency; upgrade to 2.5/10GbE if your workflow demands it.
Synology vs QNAP: which should you pick?
- Choose Synology if you value simplicity, polished backups, Btrfs features, and a cohesive ecosystem with minimal fuss.
- Choose QNAP if you want advanced hardware options, 2.5/10GbE at lower tiers, and strong virtualization/multimedia features.
Both are excellent; select based on your app priorities, budget, and performance requirements.
Quick start summary
- Pick the right NAS and NAS-rated drives.
- Initialize, update, and secure the system.
- Create RAID storage pool and volumes with snapshots.
- Set users, permissions, and SMB shares.
- Configure backups (local + off-site/cloud) with versioning.
- Enable remote access safely (VPN or secure relay).
- Add apps for media, sync, and productivity.
- Monitor health, run SMART tests, and plan capacity upgrades.