
If you’re getting serious about game recording and live streaming, mastering OBS (Open Broadcaster Software) settings is the fastest way to achieve crisp video, balanced audio, and a smooth viewer experience. This guide walks you through optimal OBS configurations for different hardware, platforms, and content goals. It also includes practical tips for bitrate, encoders, keyframe intervals, audio chains, scenes, and advanced output, so your stream looks professional without dropped frames or muddy sound.
What is OBS and why does it matter?
OBS Studio is a free, open-source application widely used by creators to record gameplay, capture webcams, mix audio, and broadcast to platforms like Twitch, YouTube, and Facebook. Its flexibility and plugin ecosystem make it a top choice for both beginners and pros, but its power depends on correct setup. With the right settings, you can maximize quality while maintaining stable performance on mid-range or high-end PCs.
Prerequisites and system preparation
Before tuning OBS:
- Update GPU drivers (NVIDIA/AMD/Intel).
- Enable Game Mode and Hardware-Accelerated GPU Scheduling (Windows) if it improves stability on your system.
- Close background apps that consume CPU/GPU (browsers, launchers, overlays).
- Use a wired Ethernet connection when possible; if on Wi‑Fi, pick the 5 GHz band and minimize interference.
Output settings: Recording vs. Streaming
OBS separates Recording and Streaming profiles, which lets you tailor quality for each.
- Streaming (live)
- Output Mode: Advanced (gives full control).
- Encoder:
- NVIDIA GPUs: Use NVENC (new) for best quality-performance balance.
- AMD GPUs: Use AMF (H.264/HEVC) or AV1 on supported cards.
- Intel Arc/Quick Sync: Use QSV/AV1 if available.
- CPU-only: x264 if you have a strong CPU, but hardware encoders are usually preferable during gaming.
- Rate Control: CBR (constant bitrate) for Twitch and most platforms.
- Keyframe Interval: 2 seconds (required by Twitch/YouTube).
- B-frames: 2 for H.264 NVENC; for AV1/HEVC, 2–4 is common depending on platform support.
- Preset/Quality:
- NVENC: “Quality” or “P5–P6” on new profiles; “Max Quality” if your GPU can handle it. Enable
- x264: “veryfast” for gaming; go “faster” if dropping frames, “fast” only if CPU is strong.
- Bitrate:
- 720p60: 4500–6500 Kbps.
- 900p60: 7000–8500 Kbps (YouTube handles higher; Twitch caps practical benefits).
- 1080p60: 8000–9000 Kbps on YouTube; on Twitch, 6000 Kbps is common due to limits.
- 1440p60 (YouTube): 12,000–20,000 Kbps.
- 4K60 (YouTube): 25,000–45,000 Kbps.
- Always check your platform’s latest guidelines and your upload bandwidth; keep ~30% headroom.
- Recording (local files)
- Recording Format: MKV (prevents file corruption on crashes). Enable “Automatically remux to MP4” if you need MP4 for editing.
- Encoder: Prefer the same hardware encoder you use for streaming, but for highest quality use:
- NVENC H.264/HEVC with CQP 14–20 (lower = better).
- AV1 (if supported) with CQ target for superior quality per bit.
- x264 with CRF 18–22 if CPU allows.
- Audio Tracks: Use multiple tracks (e.g., Track 1: desktop, Track 2: mic, Track 3: music) for flexible editing.
- Color Range: Partial for streaming; Full for local recording if your editor supports it.
Video settings: Base, Output, FPS
- Base (Canvas) Resolution: Your monitor resolution (often 1920×1080 or 2560×1440).
- Output (Scaled) Resolution: What you send to the platform. Choose based on bitrate:
- 1280×720 at 60 FPS for limited upload bandwidth.
- 1600×900 or 1920×1080 at 60 FPS if you have more bandwidth and partner/VOD goals.
- Downscale Filter:
- Lanczos (36 samples) for best sharpness.
- Bicubic if GPU is struggling.
- Common FPS Values:
- 60 FPS for fast-paced games.
- 30 FPS to conserve bitrate or when bandwidth is tight.
- If using 120/144 Hz monitors, keep OBS at 60 FPS for consistency.
Audio settings: Clean, consistent, and controllable
- Sample Rate: 48 kHz (matches most game audio).
- Channels: Stereo.
- Bitrate per Track: 160–320 Kbps for your main track; 192 Kbps is a solid default.
- Mic Chain:
- Noise Suppression: RNNoise (higher quality) or Speex (lower CPU).
- Noise Gate: Set close/open thresholds to remove background hum without clipping words.
- Limiter/Compressor: Keep peaks under -3 dB; ratio 3:1–4:1, threshold around -12 to -6 dB; makeup gain to maintain loudness.
- Monitor and Mix: Use Audio Mixer meters to ensure desktop audio and voice sit well; voice should be slightly louder and always intelligible.
Scenes, sources, and layout best practices
- Scenes:
- Starting Soon (music, countdown).
- Live Gameplay (game capture, webcam, alerts).
- BRB/Intermission (chat, recent events, camera).
- Ending Scene (call-to-action).
- Sources:
- Game Capture for fullscreen games; Window Capture for borderless/windowed; Display Capture as last resort.
- Webcam: Use a 720p/1080p feed with proper lighting; set an appropriate FPS (30 is fine).
- Browser Sources for alerts, chat overlays, and widgets.
- Order and Filters: Keep source order tidy; add color correction to match your camera to the game scene. Consider LUTs for a cohesive look.
Encoder selection: When to choose what
- NVENC (new) on NVIDIA RTX/GTX (Turing and newer) delivers great quality with minimal CPU impact—ideal for gaming and streaming simultaneously.
- AV1 is the future for quality at lower bitrates, but ensure your platform supports ingest and your viewers benefit in VODs.
- x264 provides excellent quality but may hurt in-game FPS unless you have a strong multi-core CPU.
Network stability and keyframe strategy
- CBR with a 2-second keyframe interval is standard for Twitch and YouTube.
- Set an upload reserve: If your speed test shows 10 Mbps up, limit streaming to ~6–7 Mbps to avoid spikes and buffer.
- Enable “Network Optimizations” and “Dynamically change bitrate” if your platform supports it (YouTube’s RTMP is forgiving; Twitch prefers consistent bitrate).
Recording and streaming simultaneously
- Use hardware encoding for both where possible (e.g., NVENC for stream and NVENC for recording with different quality targets).
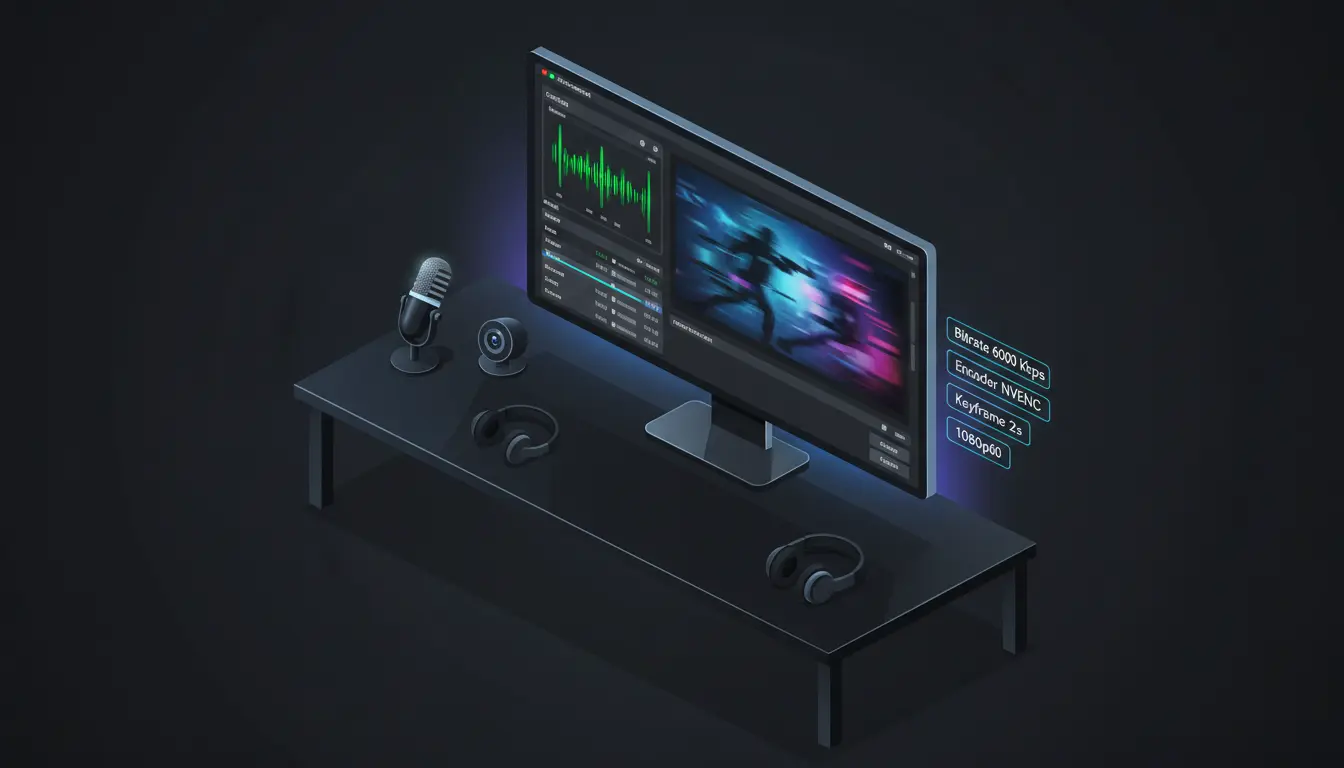
- Assign different quality/bitrate: Stream at 6000 Kbps 1080p60; record at CQP 16 for archival quality.
- Ensure disk throughput can handle high-bitrate recordings (SSD recommended).
Performance tuning and troubleshooting
- High GPU usage/dropped frames:
- Lower in-game graphics (especially post-processing and shadows).
- Reduce Output (Scaled) Resolution or switch downscale filter to Bicubic.
- Use “Max Performance” power mode in GPU control panel.
- Encoder overload:
- Drop preset from “Max Quality” to “Quality” (NVENC) or move x264 from “fast” to “veryfast”.
- Stutters on VOD:
- Lock game FPS to a stable cap (e.g., 120) to free resources for OBS.
- Disable overlays that hook into the game (some cause conflict with Game Capture).
- Audio desync:
- Set consistent sample rate (48 kHz everywhere).
- Use “Use Device Timestamps” carefully; if desync persists, add a manual sync offset to mic.
Platform-specific notes
- Twitch:
- 6000 Kbps is a practical ceiling for non-partners.
- 1080p60 looks good at 6000 Kbps with NVENC; otherwise try 936p60 or 900p60.
- YouTube:
- Supports higher bitrates and resolutions, including AV1 ingest on many channels.
- For 1440p60, 12–20 Mbps yields excellent clarity.
Recommended quick-start profiles
- Mid-range PC, Twitch, 1080p60:
- NVENC (new)
- Output Scaled: 1920×1080, Lanczos, 60 FPS.
- Audio: 192 Kbps, 48 kHz, compressor + limiter on mic.
- Low bandwidth, Twitch, 720p60:
- CBR 4500–5500 Kbps, same encoder/presets, Lanczos, 60 FPS.
- YouTube 1440p60:
- 12,000–20,000 Kbps, NVENC or AV1 if supported, Keyframe 2s, B-frames 2–4.
Advanced tips for quality and workflow
- Use MKV for safety and auto-remux to MP4 for editing.
- Calibrate webcam white balance and exposure; avoid auto-exposure flicker.
- Use hotkeys for scene changes and mic mute.
- Consider replay buffer for quick highlights without recording full sessions.
- Back up your OBS profile and scene collection before major changes.