
Wildlife Cameras: The Complete Guide to Choosing, Using, and Getting Better Results in the Field
Wildlife cameras (often called trail cameras) have changed the way people observe nature. Instead of guessing which animals pass through a valley, a forest edge, or a backyard corridor at night, you can collect real evidence—photos and videos—without disturbing the habitat. From birdwatchers and wildlife photographers to hunters, researchers, and landowners, many people rely on these cameras to understand animal behavior, protect property, and support conservation.
In this guide, you’ll learn what wildlife cameras are, how they work, which features actually matter, and how to place them for the best results. You’ll also see practical advice on power, storage, settings, and ethical use, so you can capture clearer footage and reduce false triggers.
What Is a Wildlife Camera?
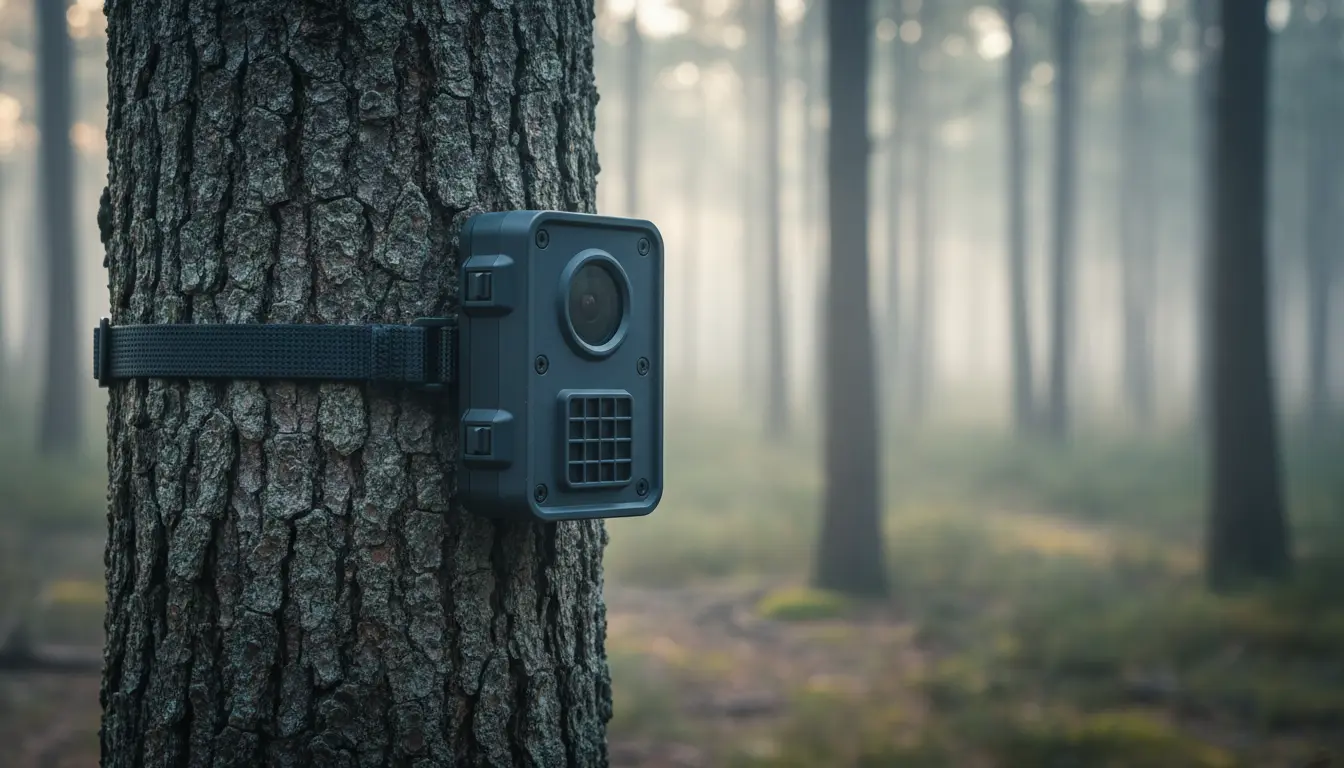
A wildlife camera is a weather-resistant outdoor camera designed to capture animals automatically. Most models use a motion sensor and infrared detection to trigger a photo or video when an animal enters the detection zone. This “set it and forget it” approach helps you record natural movement patterns—especially at night—without shining lights or standing nearby.



Many people use wildlife cameras for:
- Monitoring trails, feeding areas, or water sources
- Studying nocturnal animals that rarely appear during the day
- Documenting wildlife corridors for habitat planning
- Checking remote property areas with minimal visits
- Capturing memorable moments for personal education and enjoyment
How Wildlife Cameras Work (In Simple Terms)
Most wildlife cameras combine three core systems:
- A PIR sensor (passive infrared) that detects heat and motion
- A camera module that captures image or video
- An illumination system (often infrared) that enables nighttime recording
When an animal moves across the sensor’s field, the camera activates. The best models fire quickly, capture sharp images, and recover fast enough to take multiple shots as the animal passes.
For night recording, many cameras use infrared night vision. Some use low-glow or no-glow infrared light so animals stay calm and the footage remains natural.
Key Features That Actually Matter
Wildlife camera marketing can be noisy. Focus on the features that influence real-world performance.
1) Trigger Speed and Detection Range
If the trigger speed is slow, you’ll capture empty frames—tail ends and blurry silhouettes. A fast trigger helps you get full-body shots. Detection range matters too, but it must match your placement. In tight woods, extreme range can increase false triggers from moving branches.
2) Image Quality vs. “Interpolated” Megapixels
Some brands advertise huge megapixel numbers that don’t reflect true sensor quality. Look for consistent sharpness, good dynamic range, and clean night images rather than chasing the biggest number on the box.
3) Video Resolution and Audio
If you want behavior insights, video helps. A 4K trail camera can deliver detail, but only if the sensor and processing are strong. For many users, stable 1080p with good low-light performance is more useful than “4K” that looks noisy at night.
4) Flash Type: Low-Glow vs. No-Glow
- Low-glow: slight red glow, often brighter night footage
- No-glow: nearly invisible, better for shy animals and security use
If you plan to monitor sensitive areas, a no-glow infrared camera often makes sense.
5) Battery Life and Cold Weather Performance
Battery life changes based on temperature, video length, and trigger frequency. In winter, cheap batteries drop fast. If you run a camera long-term, consider lithium AAs or an external power option, and think about how often you can visit the site.
6) Storage, SD Cards, and Reliability
Use quality SD cards and format them in-camera when possible. Many “camera problems” come from low-quality cards or cards that are too slow for frequent video writing.
7) Cellular Connectivity (Optional)
A cellular trail camera sends images to your phone without you visiting the site. This is valuable for remote monitoring, security, and research, but it adds ongoing plan costs. If you only need periodic checks, a standard SD-card camera may be simpler and more cost-effective.
Choosing the Right Wildlife Camera for Your Goals
Different users want different outcomes. Pick a camera that matches your main purpose.
For Backyard Wildlife Watching
Choose a simple model with reliable motion detection, solid night performance, and easy menus. You’ll get more enjoyment from consistent triggers than from advanced settings you never use.
For Deep Woods and Wildlife Corridors
Prioritize fast trigger speed, good night vision, and strong weather sealing. You’ll also want a tough mounting method and a plan to reduce false triggers.
For Research and Systematic Monitoring
Consistency matters more than flashy specs. Use the same settings across sites, log placements, and standardize height and angle. A dependable PIR sensor and repeatable performance will beat a camera with unstable results.
For Property Security
Consider no-glow flash, a lock box, and possibly cellular alerts. A camera that stays hidden and stable delivers better long-term results than one that produces bright glare or draws attention.
Best Placement Tips (This Is Where Results Improve)
Even the best camera fails with poor placement. Use these proven guidelines:
- Mount at the right height: For deer-sized animals, chest height works well. For smaller animals, lower the camera, but avoid pointing directly at the ground.
- Angle to the trail, not straight at it: A slight angle increases time in frame and reduces missed triggers.
- Avoid direct sunrise and sunset: Bright glare can wash out images and trigger false exposure shifts.
- Clear the detection zone: Small branches and tall grass can create false triggers in wind.
- Use natural funnels: Game trails, fence gaps, creek crossings, and ridge saddles naturally guide movement.
- Don’t over-bait (and follow local rules): Keep it ethical and legal. Often, water sources and natural browse areas work just as well.
If you want better clarity, spend more time on placement than on brand comparisons. Placement controls how much of the animal appears in-frame, how long it stays there, and how clean the sensor read is.
Settings That Improve Real Footage
Start simple, then refine based on your results.
- Photo bursts: Use 2–3 shots per trigger for fast-moving animals.
- Video length: 10–20 seconds is a practical balance for behavior and storage.
- Recovery time: Shorter recovery captures more action, but drains battery faster.
- Sensitivity: High sensitivity helps in cold weather; medium reduces false triggers in windy areas.
- Time-lapse mode: Useful for open fields and big landscapes where animals may not cross the sensor zone.
Many cameras include time lapse mode, which can reveal movement patterns across large areas even when motion triggers miss distant animals.
Ethical and Legal Considerations
Wildlife cameras should help you understand nature—not disrupt it.
- Avoid placing cameras too close to nests, dens, or sensitive habitats.
- Do not block trails or alter the environment heavily.
- Respect privacy laws and avoid pointing cameras toward private spaces or public paths where people regularly pass.
- If you share images publicly, consider location sensitivity for rare species.
A responsible approach supports conservation and keeps camera use accepted in more regions.
Maintenance and Long-Term Success
Your wildlife camera becomes more reliable when you treat it like field equipment.
- Check seals and latches before deployment
- Use desiccant packs if humidity is high
- Replace batteries proactively before extreme weather hits
- Keep a simple log: location, date, settings, and card changes
- Rename folders or back up files immediately after retrieval
Small habits prevent data loss and reduce wasted trips.
Common Mistakes (and How to Avoid Them)
- Pointing at open sky: creates exposure problems and false triggers
- Mounting too low in tall grass: wind movement triggers the camera constantly
- Using cheap SD cards: causes corrupted videos and missed writes
- Placing too close to the trail: animals pass too fast and appear cropped
- Ignoring angle: straight-on placement often misses side motion or yields short capture time
Fix these and you’ll see sharper, more useful results quickly.
Amazon.com Product Suggestion (1)
- Bushnell Trophy Cam HD (Trail Camera) — A well-known line for reliable field performance and practical features for general wildlife monitoring.